Category: Crafts (page 1 of 28)

Minecraft Socks

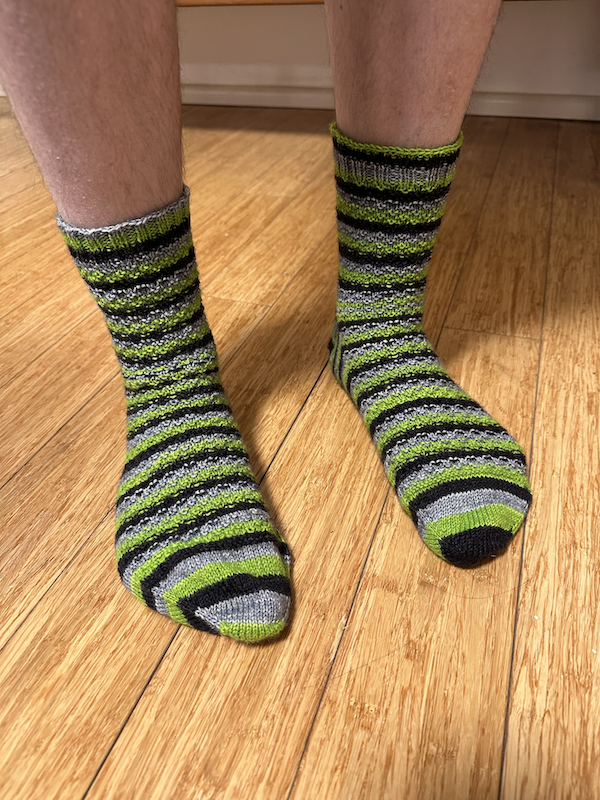
Minecraft SocksI think these socks win the prize for the longest time from start to finish, and they probably also set a record for the number of times I frogged and restarted! My initial cast-on was way back in April 2021 – back when I was still livestreaming my knitting – and I finally handed them over to the Snook yesterday.

The yarn is Drover Self-Striping from Colagirl Collective that I bought from Convent & Chapel many years ago. I can’t find any record of the colorway name or number, but the lime/grey/black reminded me of Minecraft. My original plan was to do the Undulating Rib socks, but I realised after casting on that it was fighting with the self-striping. So eventually I frogged them and started over. I settled on a simple broken-rib pattern, which gave a sort of pixelation effect and kept me from being too bored. :

Row 1: *K2, P2* repeat to end
Row 2 & 4: Knit
Row 3: *P2, K2* repeat to end

I knitted them toe-up with a circular needle (using the Magic Loop technique). Normally I prefer to knit both at the same time, but the wool was pre-balled and I had no way to access the other end. That meant I had to knit them one-at-a-time, and of course I lost my notes during the long gap after finishing the first one. It was only really an issue on the heel, which I decided to knit using a traditional gusset and heel flap (but in reverse). I suspect that my numbers are slightly different on the two of them, but I was already knitting these as fairly baggy house socks so I figure a few stitches either way doesn’t really matter.

The Snook was pretty happy to receive these, as the weather has turned decidedly Autumnal and the floors are feeling a bit cool in the mornings!

Minecraft Socks

Memory Vest and Digger Jacket

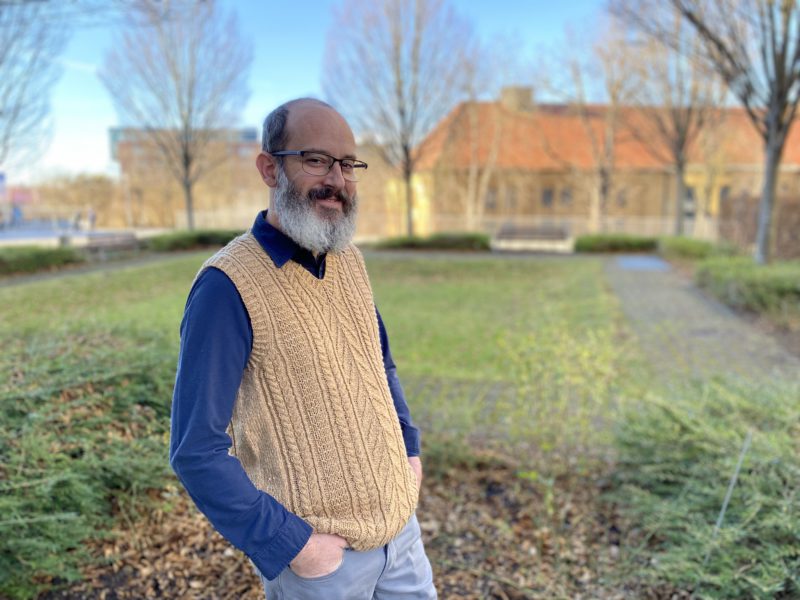
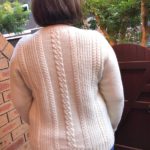
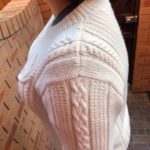
I actually did finish a couple long-gestating knitting projects in 2021! Above you can see the Snook modelling his new cabled v-neck vest. He’s decided in recent years that he likes knitted vests, as he can still wear a jacket over them and not be too warm. The wool is Jo Sharp Silkroad DK Tweed from a packet that I bought in a Knitters Guild destash many years ago. It’s wonderfully soft and squooshy, and I knew it wouldn’t make him itch. (The colour is 419 Butternut, but to me it looks more like a golden cookie or a teddy bear.) The pattern is called Dr. G’s Memory Vest, and it was designed as a tribute to someone who suffered from dementia. I modified the pattern to be knitted in the round from the bottom up, and I worked on it off-and-on throughout the year. I also tweaked the length slightly as the Snook has a long torso. Doesn’t it look good against a blue shirt? More details over on Ravelry.

Digger Jacket

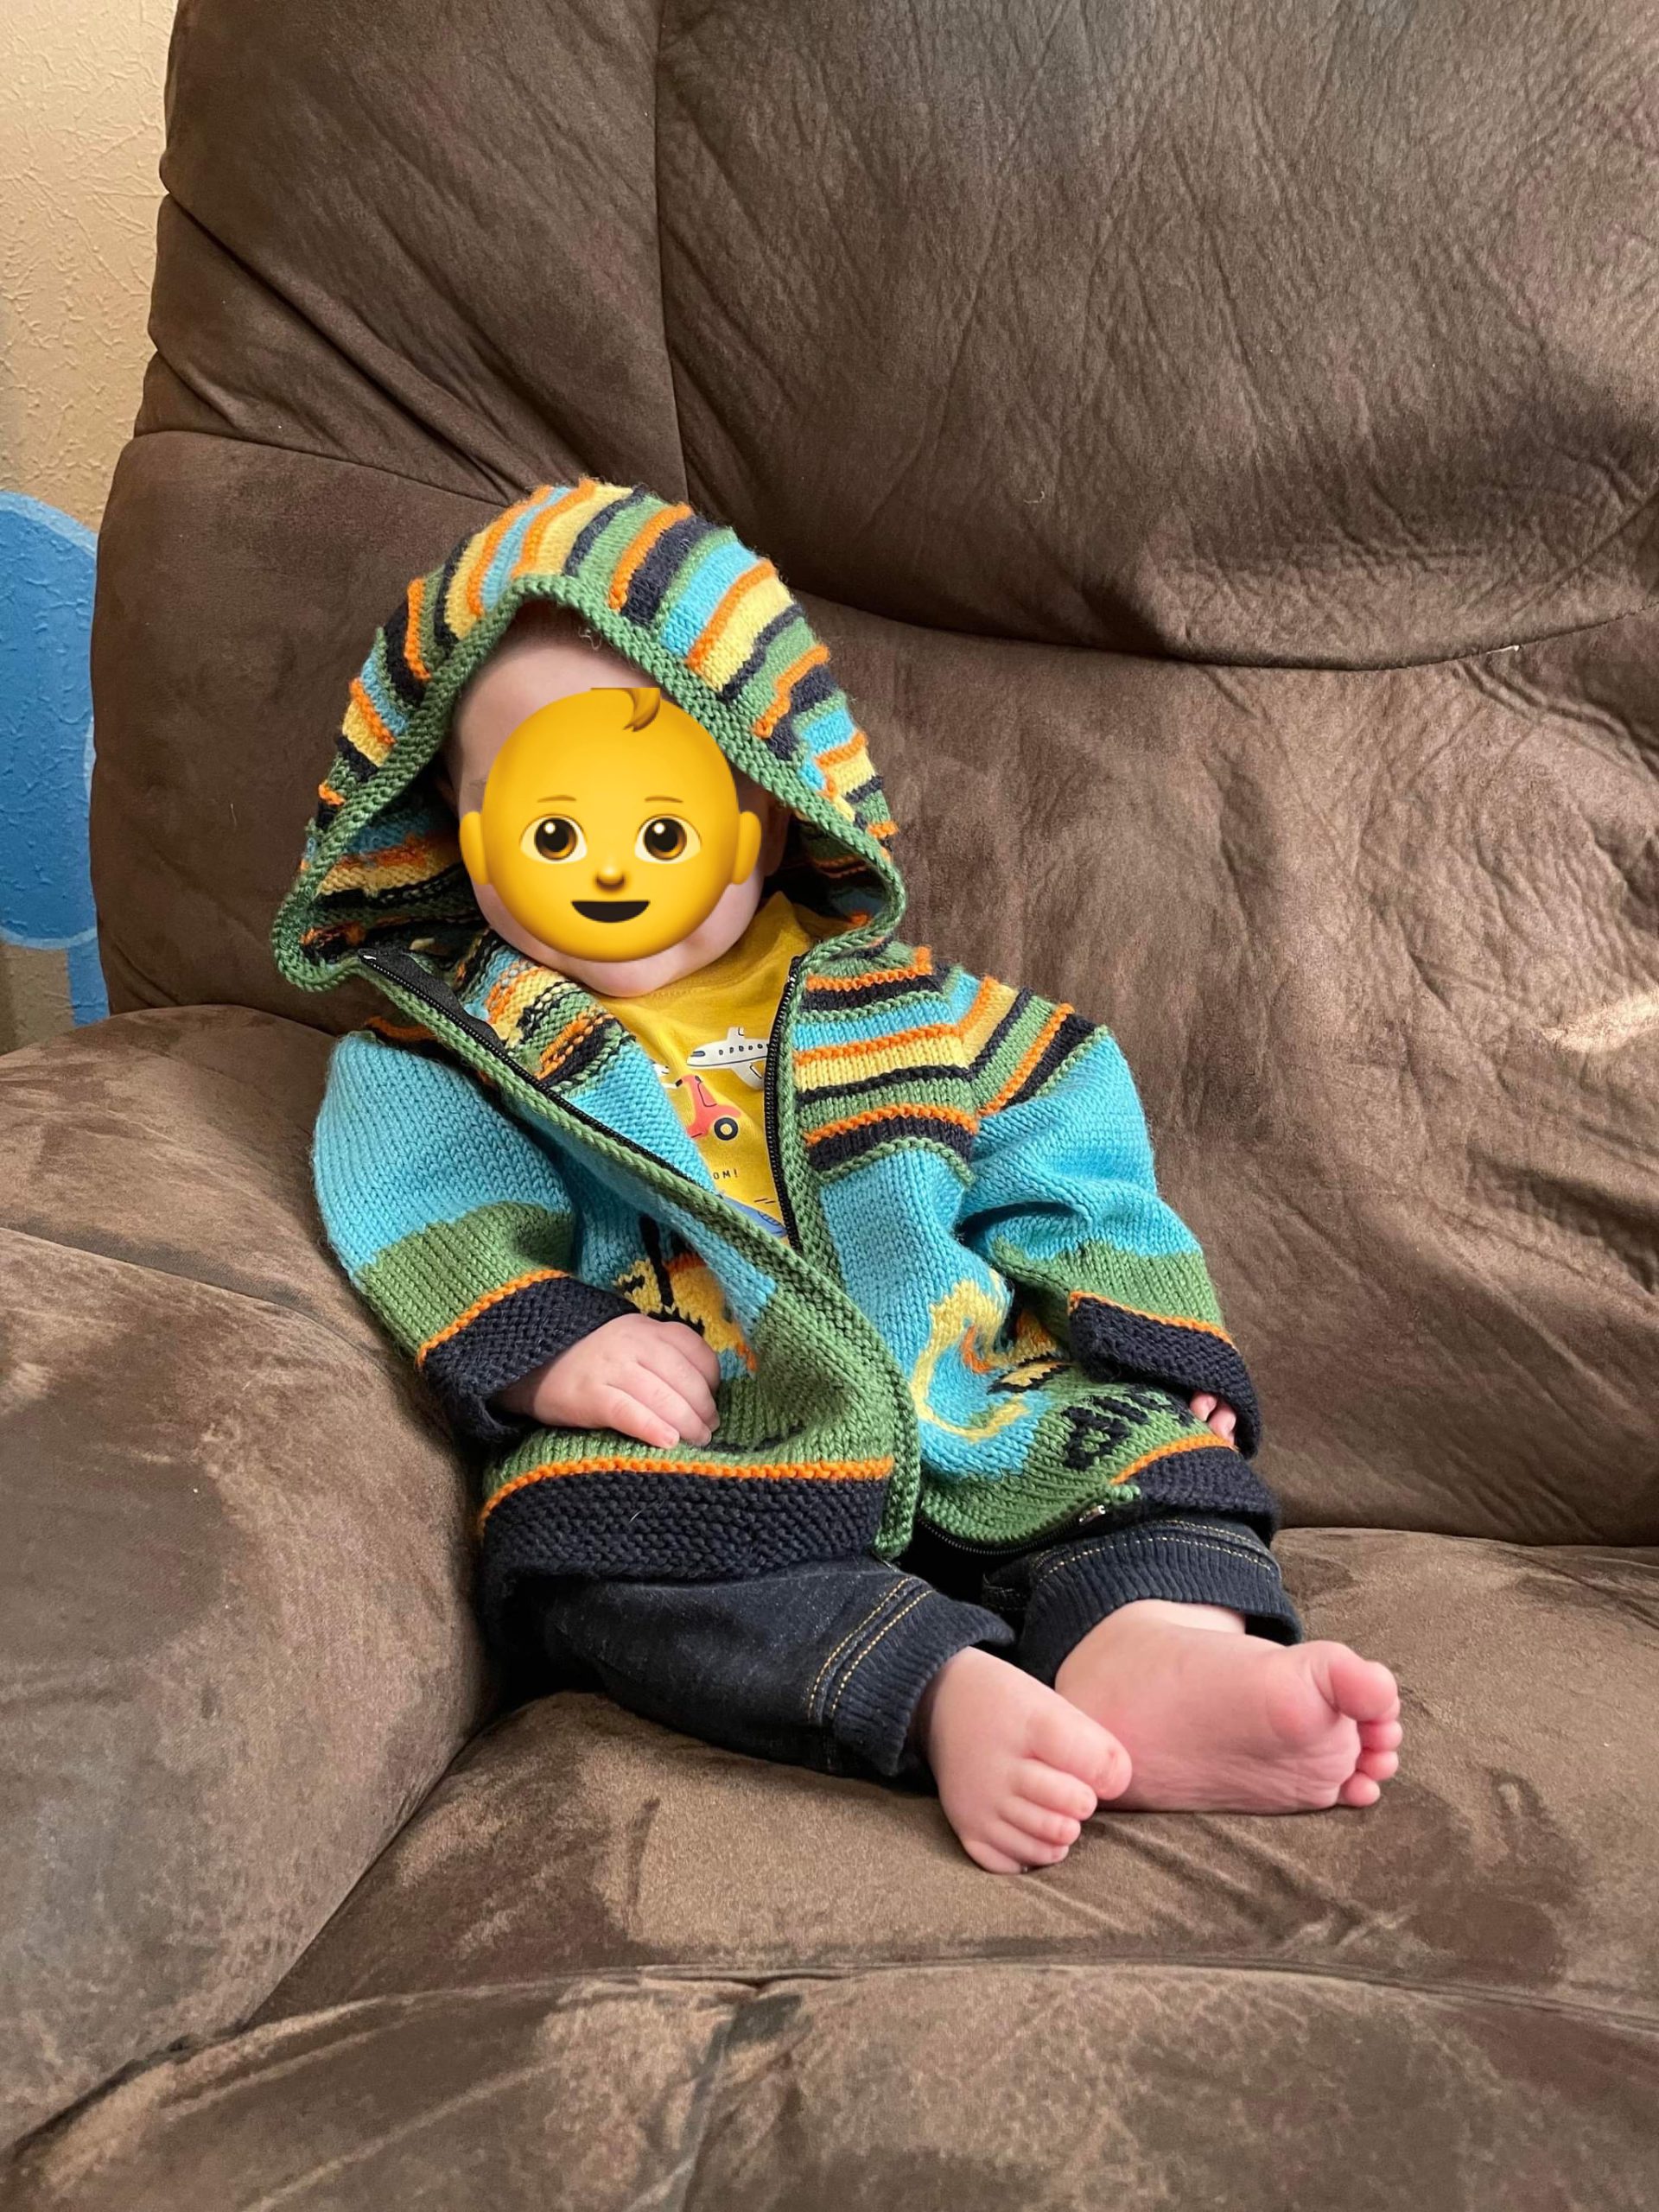
The other project I finished was the Digger Jacket. I actually started this project years ago when my cousin had her first child back in the US. I severely underestimated how quickly I can knit complicated intarsia though (or how frustrating dealing with hundreds of ends can be) so it took me a really long time to finish. By the time it was ready for the zipper, she was pregnant with her third son! I brought it to Germany with me so I could finally finish it off, and last month I was lucky enough to get to deliver it to her in the US. Obviously it’s a bit big for the little one right now, but he’ll grow into it. The wool is Morris Estate 8ply and I absolutely love the colours. As always, I tried to minimise sewing up by knitting the fronts and back together on a singular circular needle. The trade-off was that meant I had to knit all four machines at the same time, which got pretty complicated juggling all the different colours. I tried to simplify things a little by using duplicate stitch for the words and a few of the smaller details. I’m really charmed by how it turned out though, and the little one looks so adorable in it! More details on Rav…

Darlow Pants

I sewed pants! 👖

For a really long time, trousers have been my Mount Everest as a sewist. I’ve sewed lots of dresses, shirts, and even shorts, but never a pair of actual trousers. I made a valiant but cursed attempt last year at a muslin for the Moji pants by Seamwork before accepting that a drawstring waist was never going to work with my shape…

Then a few months back I started to see the Darlow pants from In the Folds popping up in my Instagram feed. “No way,” I thought. Those curving seams?! These aren’t straight up-and-down pants; they have multiple curvy pieces that swoop around the legs and create volume. It seemed like jumping several levels of difficulty. The style was also slouchier and baggier than what I normally wear. But then I clicked on the #darlowpants hashtag, and I was able to see them on different body types and in different materials, and I started to think, “…maybe??”

I bought the pattern. Back in Australia I’d purchased several meters of a soft drill-type fabric for future pants — I never remember to write down the fabric I buy — and I’d shipped it all the way here. It seemed a shame to let it go to waste. Why not give it a go?

I decided to go with View B, which is the less voluminous version and has less pattern pieces. I cut a straight Size I and printed out all the pattern pieces and assembled. Just as I was about to lay out my fabric for cutting, I realised there was one crucial modification I needed to make right from the start – lengthening the legs! The pattern is drafted for someone 5’7”, and I’m 5’10”. So I added three inches at all of the length/shorten lines. This isn’t as straightforward as on normal pants, as the curving lines mean you have to redraw some curves and then “walk the seams” to ensure they still line up. (Thankfully the designer has provided a Fit Kit which walks you through several common modifications.)

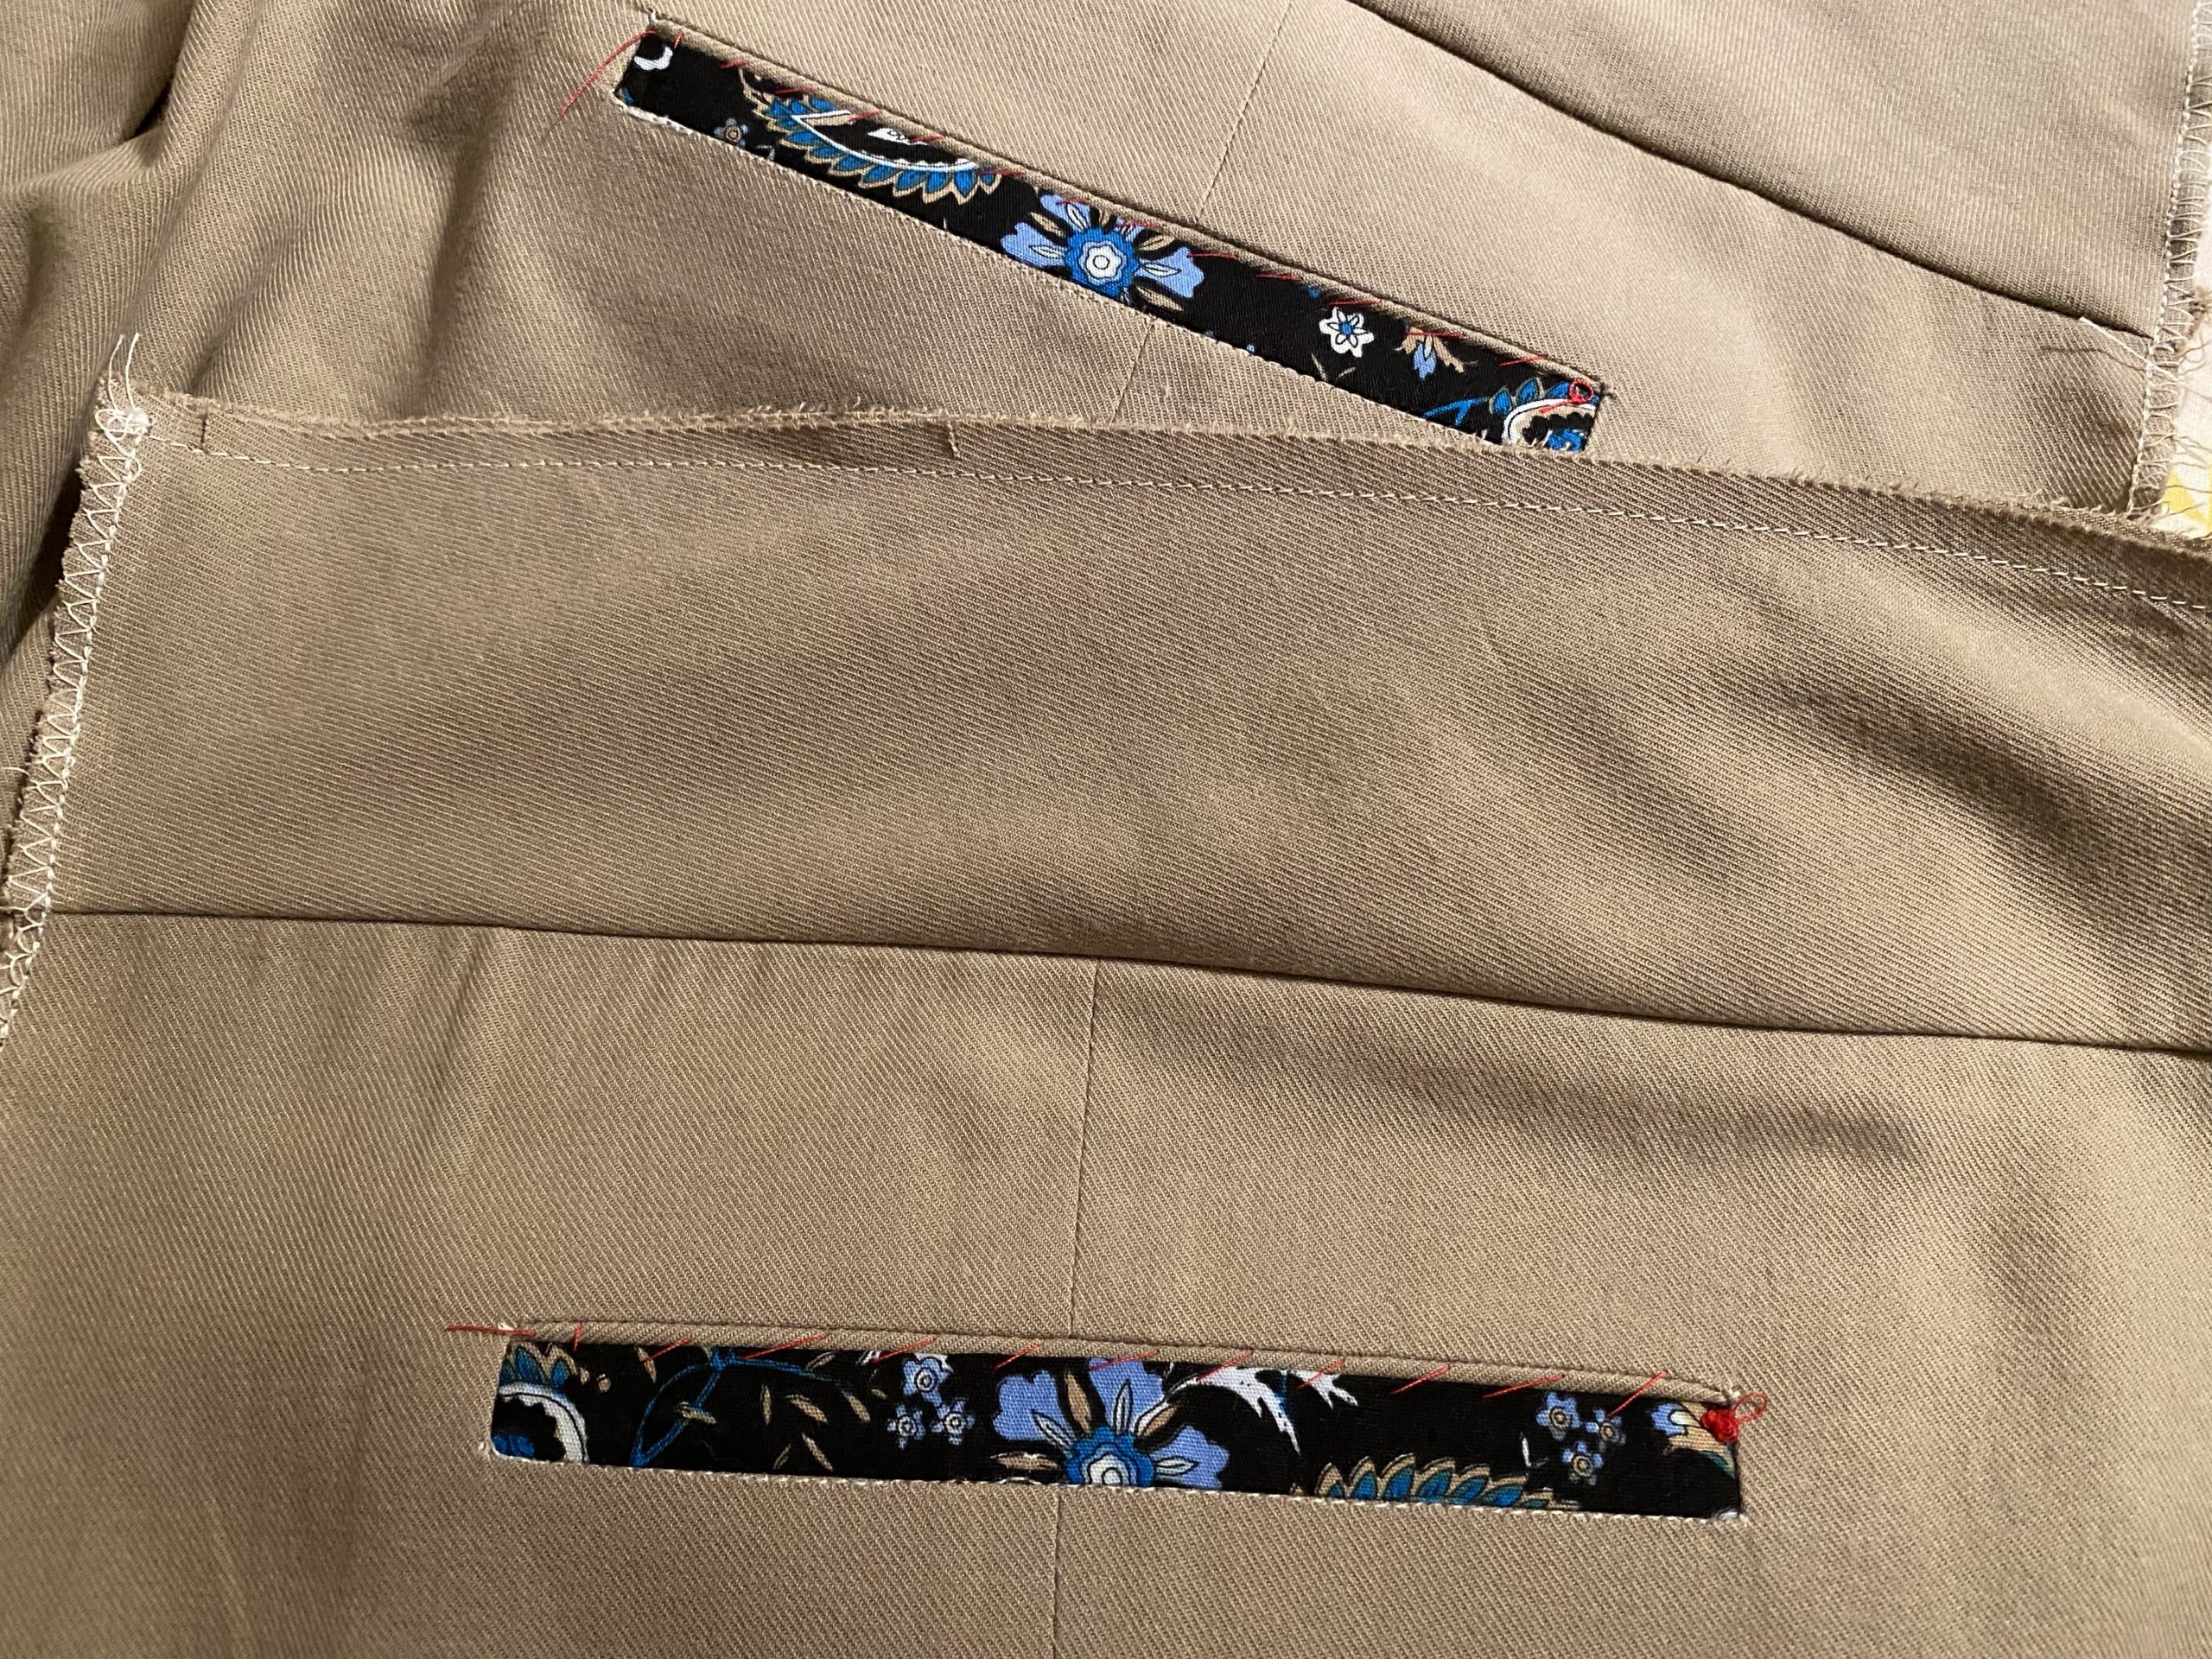
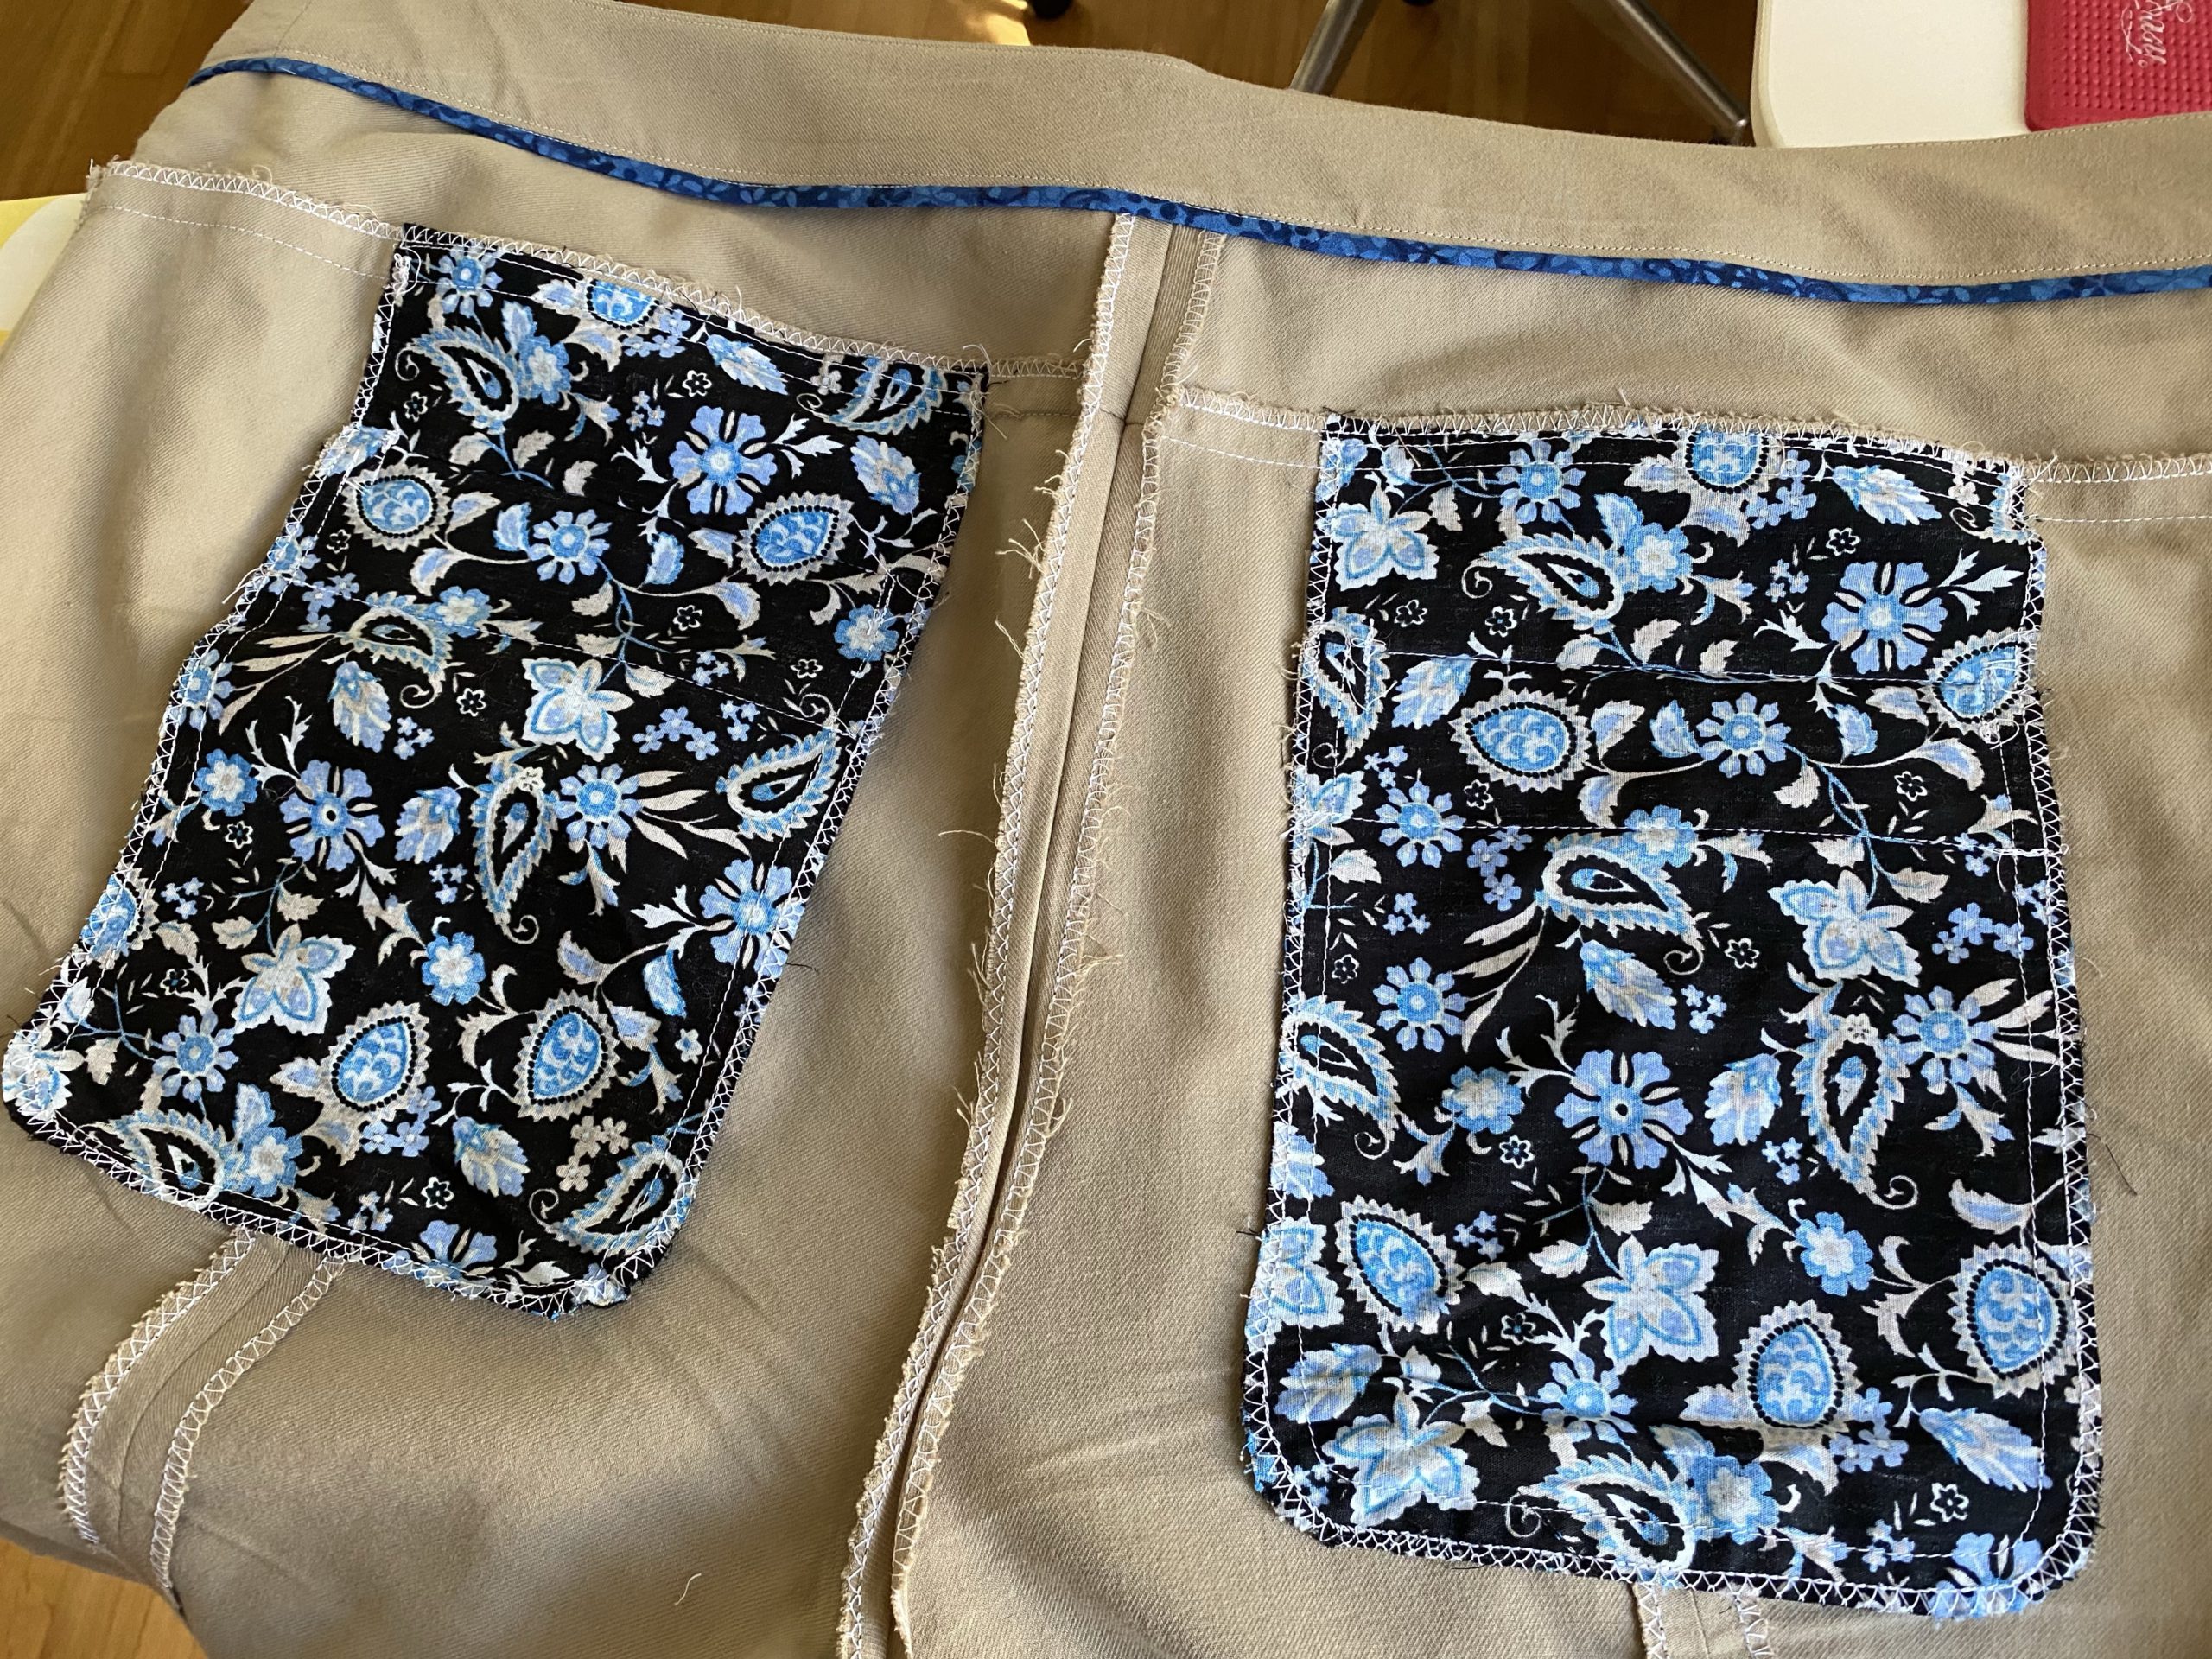
Finally it was time to cut the fabric and start sewing! The first thing you assemble are the back panels, and I had a lot of fun using my special overlocker foot and stitch to finish the raw edges. Once the panels are sewn, you then create the rear welt pockets. I decided to make them a design feature by using some scraps of paisley fabric. The pattern instructions are pretty straightforward and suggest several places where you should hand-baste just to keep everything all lined up. Everything went well until I got to Step 23, when I got confused and just couldn’t figure out how to secure the welt. I ended up emailing the designer, who helpfully sent me a video that explained everything. The key is that Piece 17 (the pocket lining) needs to be folded up under the back panel and out of the way for Step 23. Then you’re meant to fold the welt on Piece 18 and then sew along it. If you look at the photo here, you can just see a line of white stitching at the bottom of each welt. That’s where I did it WRONG. Mine isn’t securing anything; it’s actually meant to go through both layers of the paisley fabric. Oh well – I’ll get it right on the next pair! (Note: the bodgy red stitching along the top is just hand-basting to keep the pocket flat while you assemble the rest of the pants.)

Welt Pockets

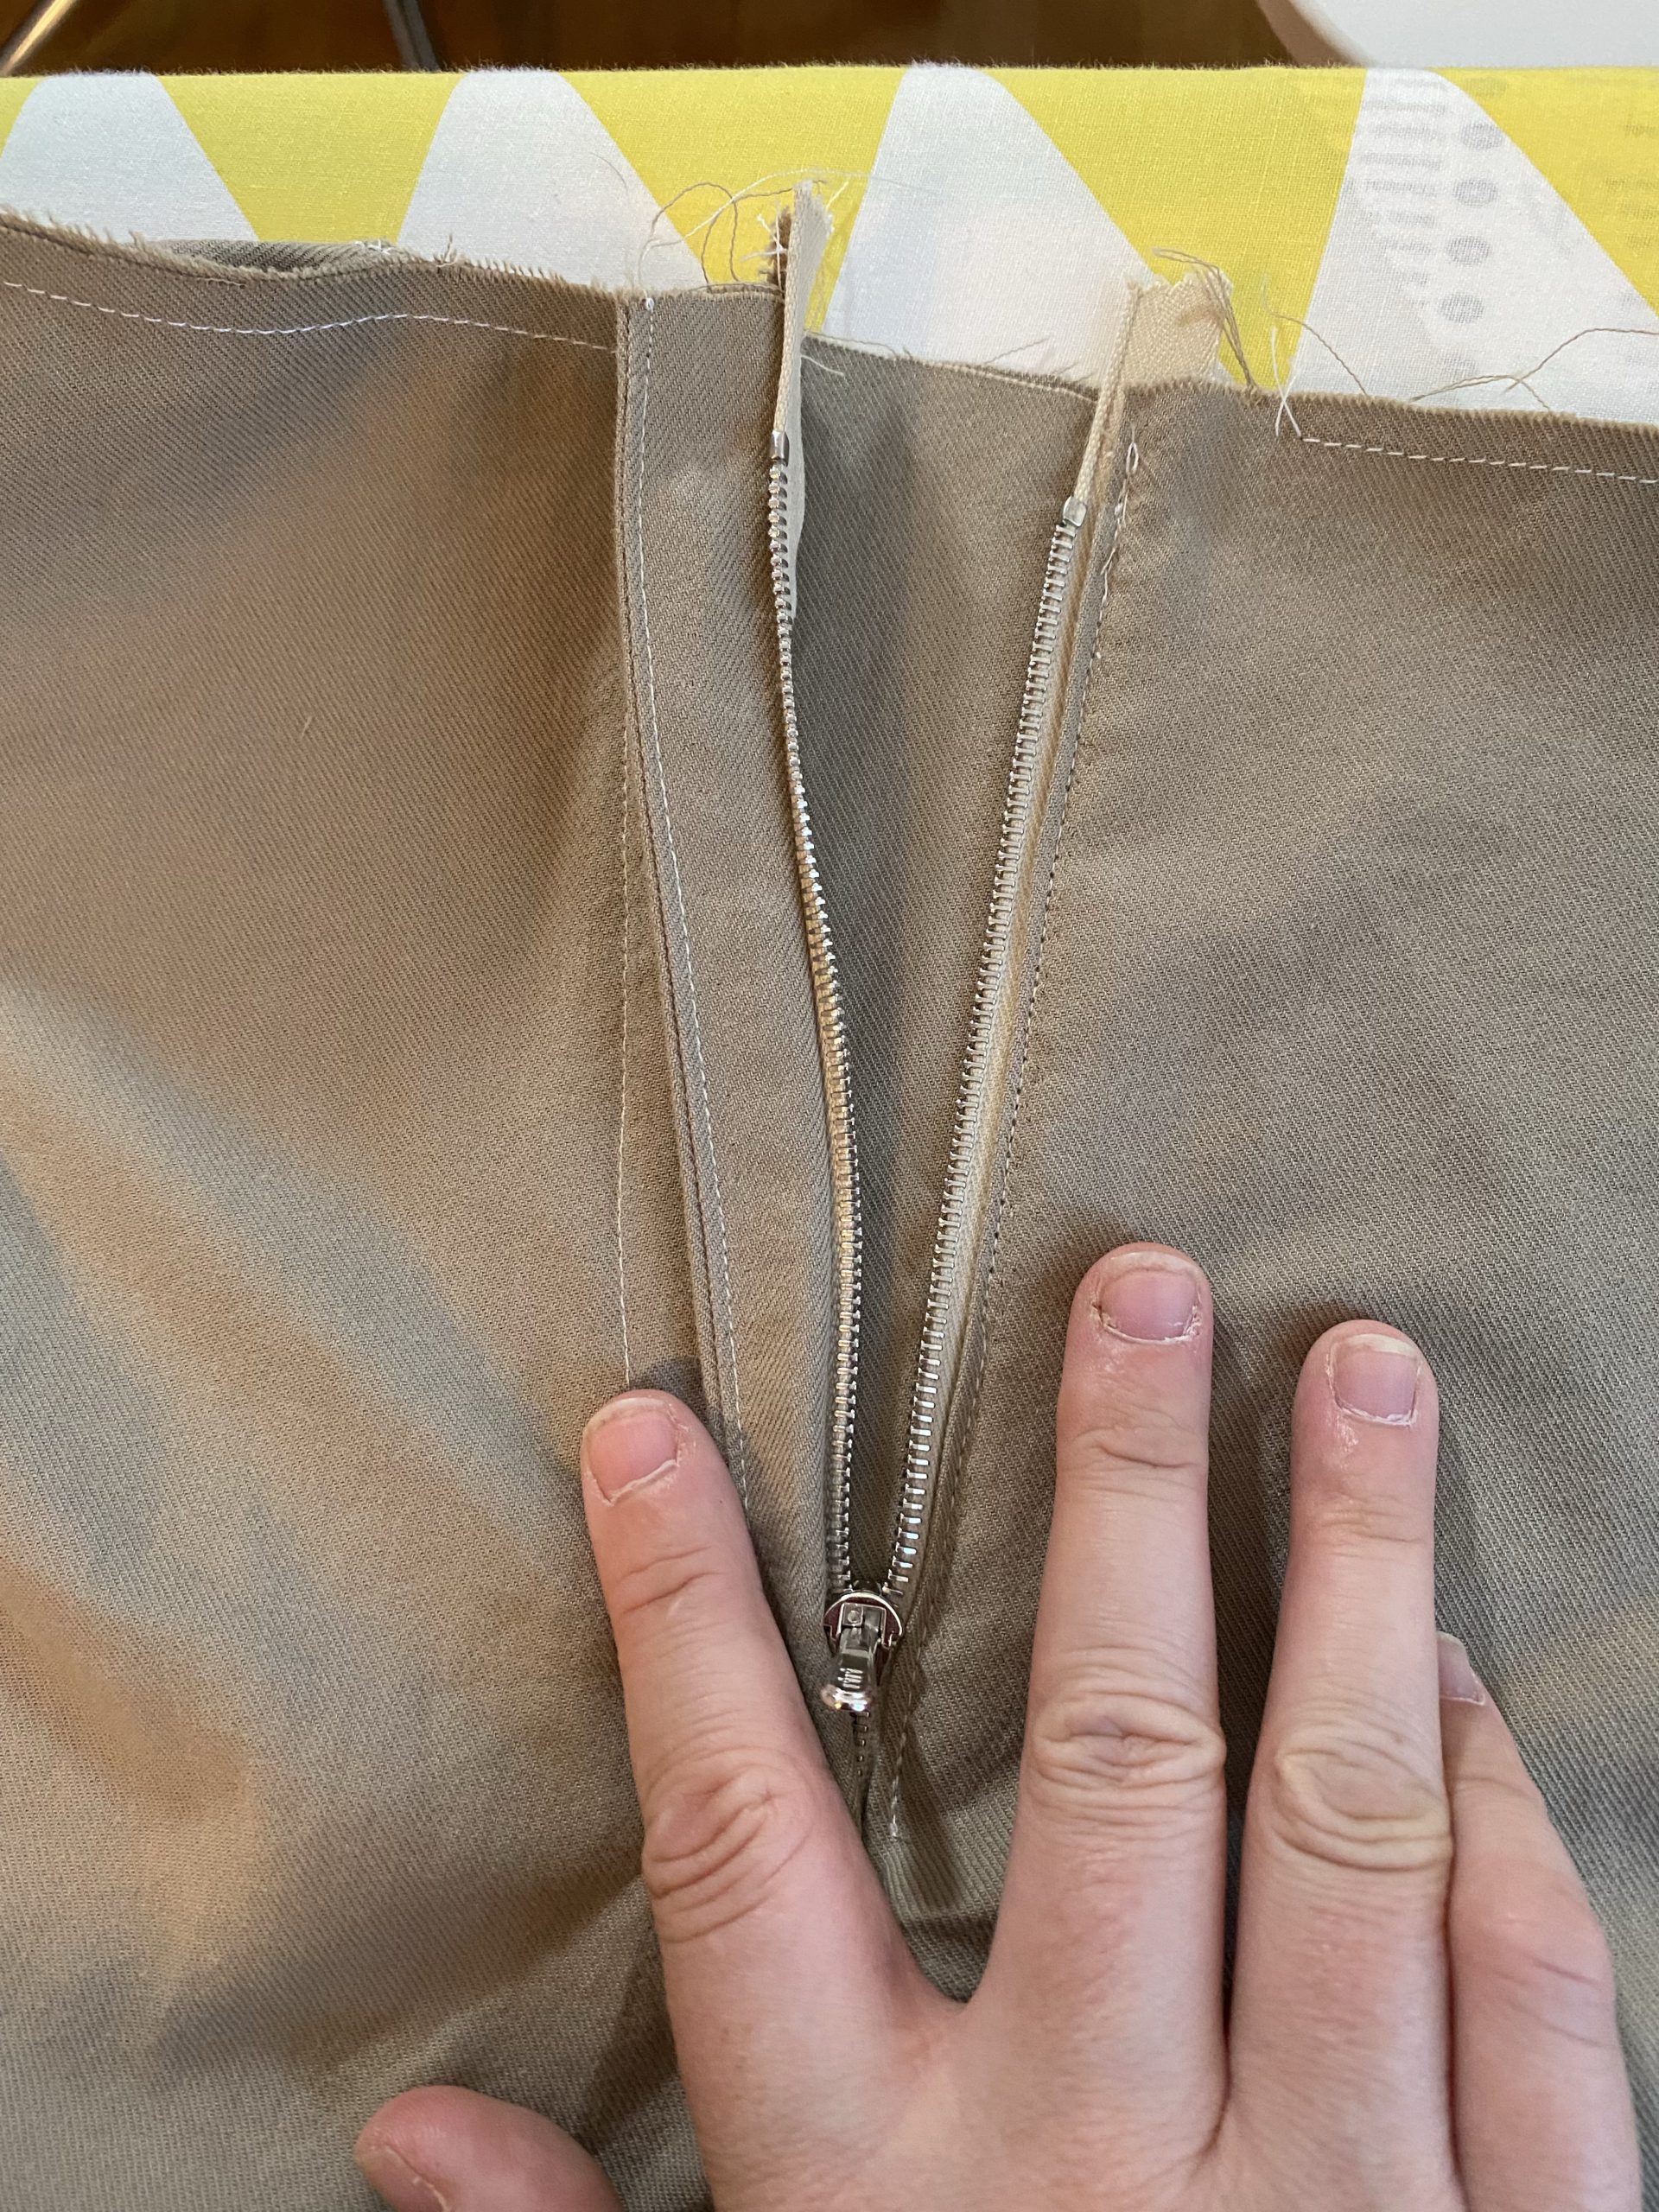
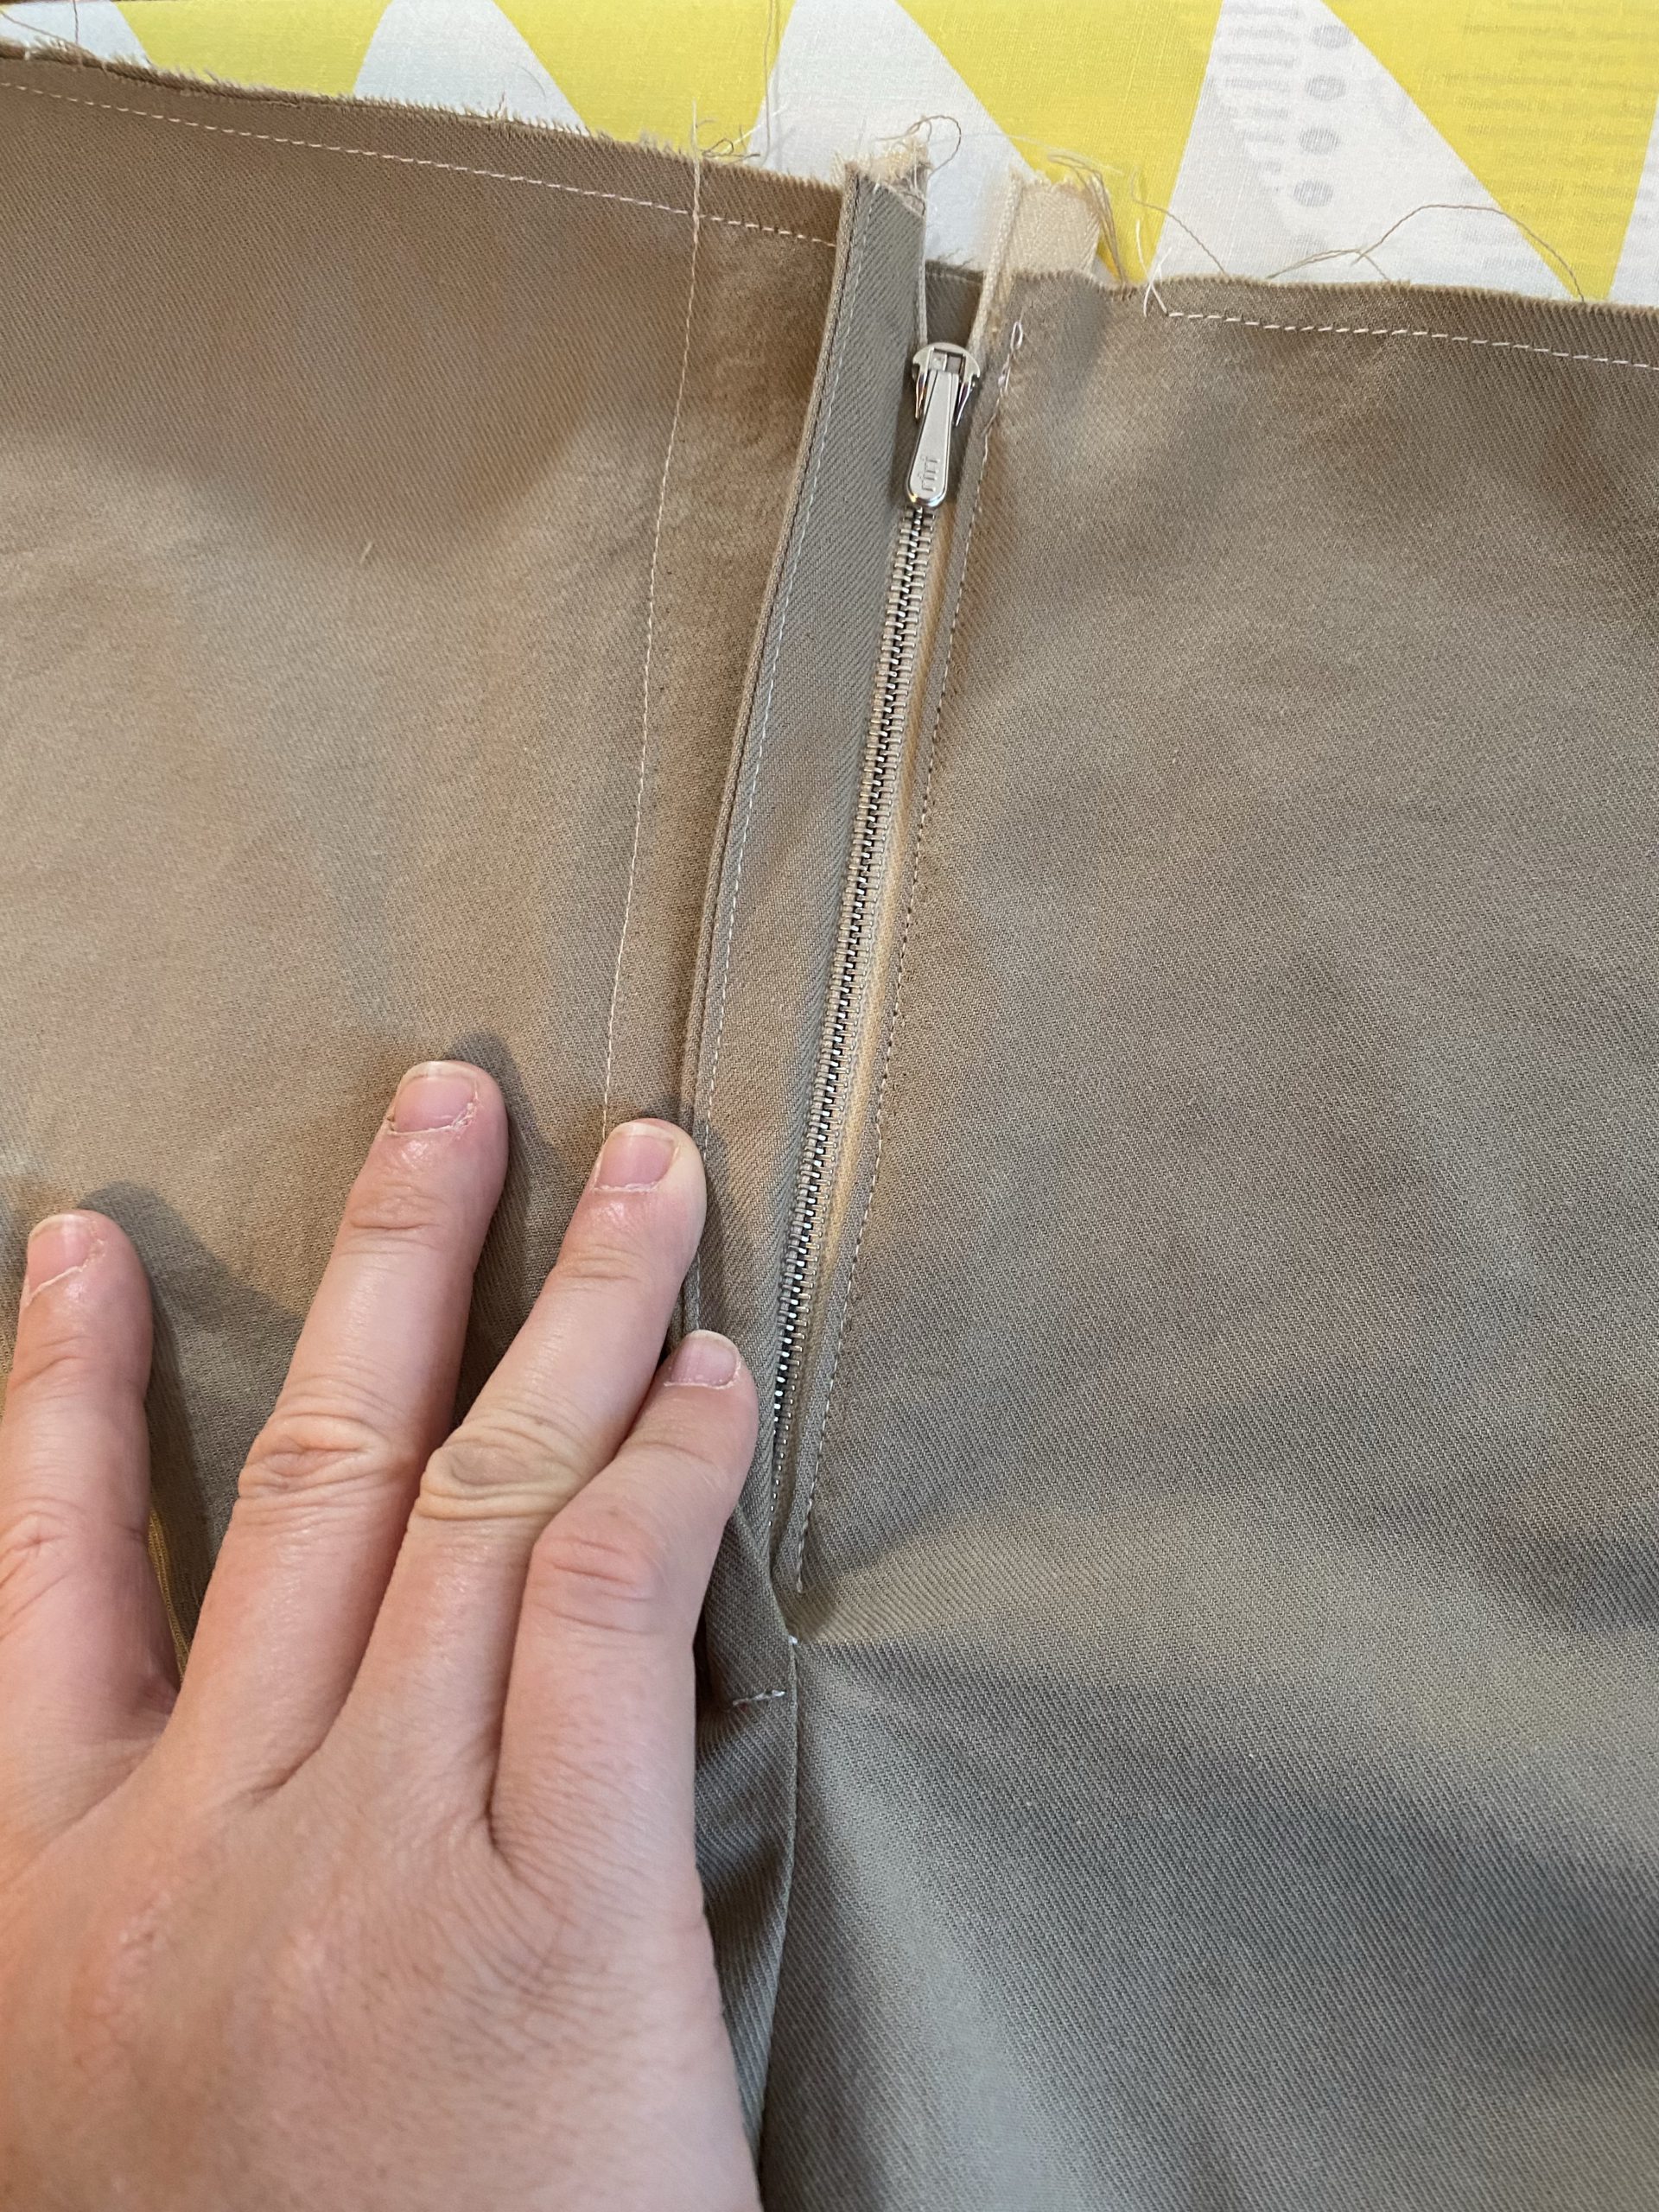
The rest of the pants assembly was pretty easy – even those big curvy bits! – and you end up inserting nice deep pockets into the side seams. Then it was time to insert the zip. I’ve sewn zippers before, but only side-seam ones. I decided that I really wanted a quality metal zip rather than futzing about with crappy nylon ones. I made a pilgrimage to a local haberdasher – which was amazing – and got everything I needed. I was nervous about inserting it, but the instructions were great and again had you baste things together to keep everything lined up. And guess what? IT LOOKS LIKE A REAL PROFESSIONAL ZIP!

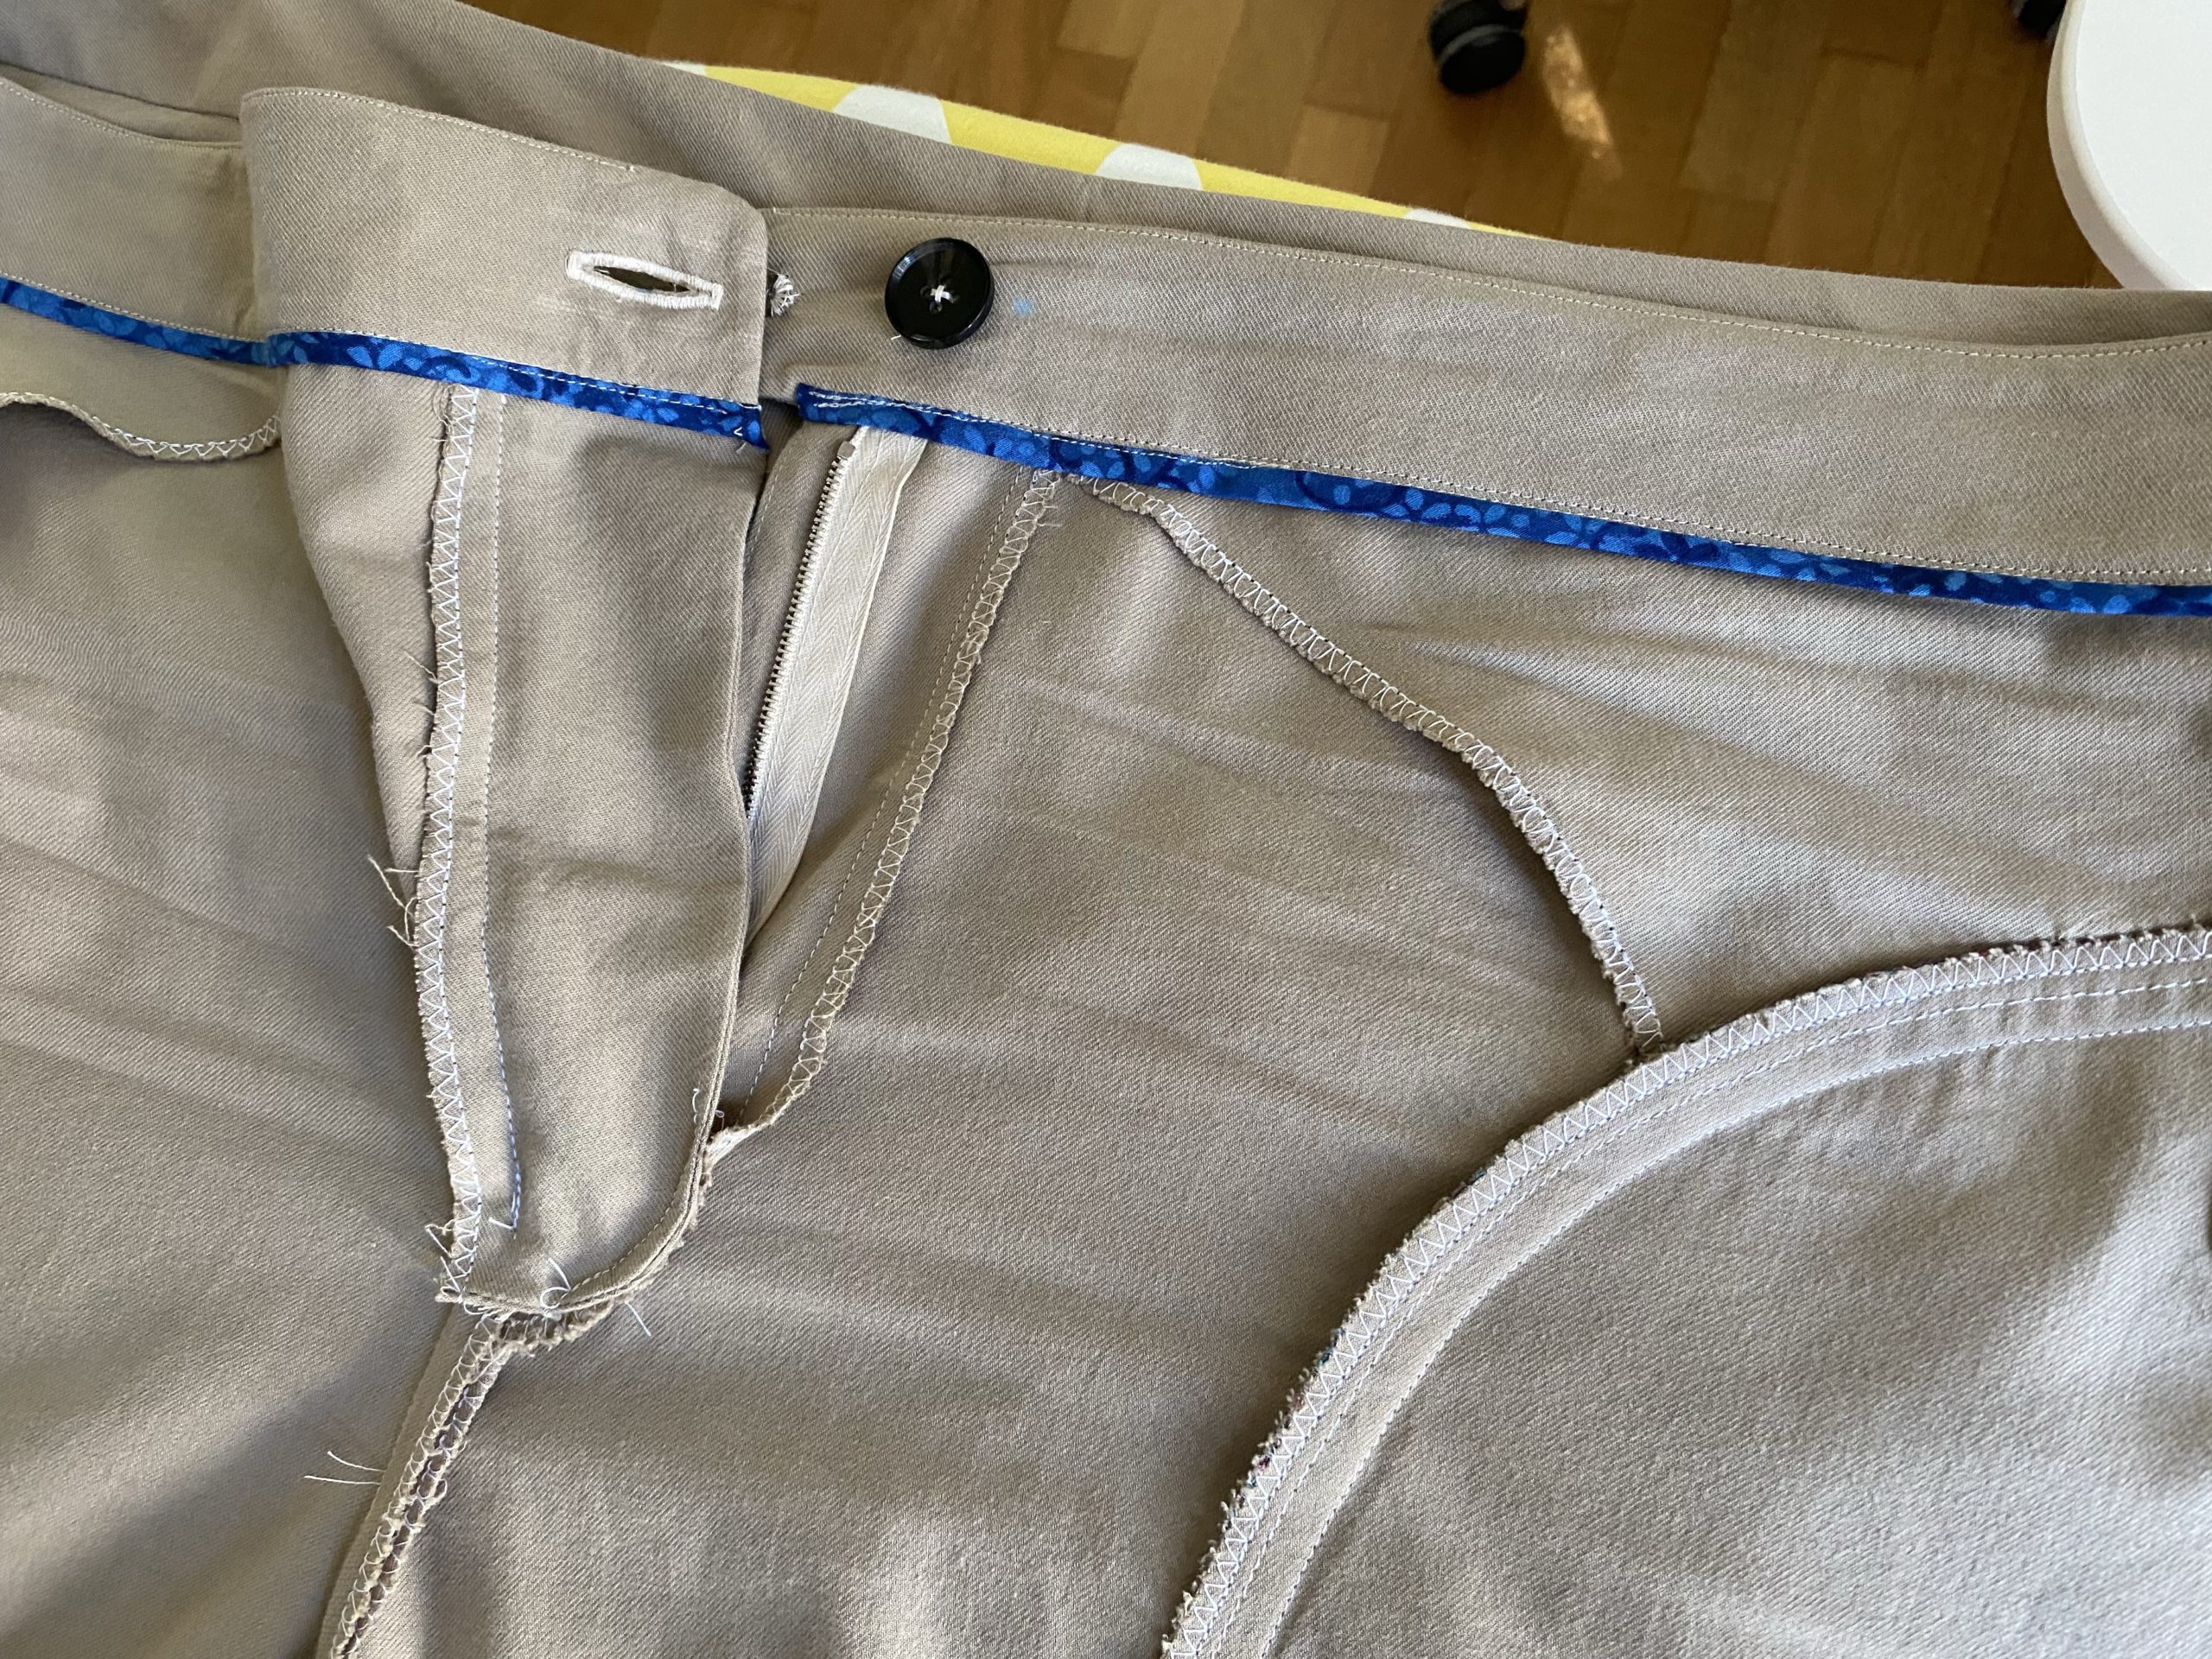
The waistband assembly was pretty simple. You have the option of binding the inside edge with bias binding or enclosing it within the waistband. I had some leftover binding from a previous project so I went with that, and it actually makes it look really nice. Then I just needed to add a buttonhole, sew on a button, and also sew on a trouser hook for the tab. Here’s what it looks like on the inside…

Inside out waist

And here are the welt pockets from the inside as well.

Welt Pockets

The final step was to finish and sew on the hem facings to the legs. And then they were DONE!

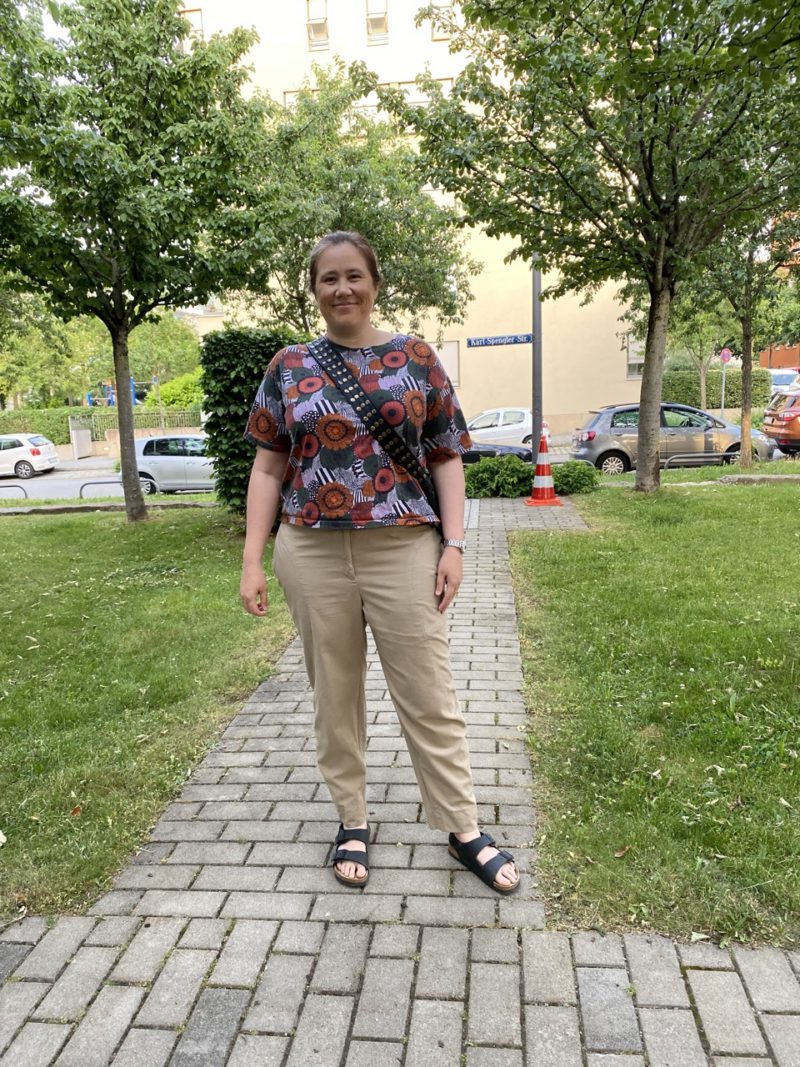
As a wearable muslin, I’m pretty happy with these! I think the three inches I added to the length was just right. There are definitely some fitting issues remaining though. You can’t tell in the photo, but I think I actually need to go down a size in the waist (but leave the size through the hip) – they’re actually quite loose around my middle. (And since there are no belt loops, you can’t really cinch it up.) I also think I need to add a bit more room to the seat, possibly by extending the back crotch point. But still – entirely wearable PANTS! I’m looking forward to making the next pair even better. 🙂

Lanatus and Orkney

I realised recently that, while I’ve been having a lot of fun streaming my knitting on Twitch, I’ve been pretty lax at actually documenting it on Ravelry and the blog. I’ve completed two big projects since I’ve been in Germany, but unless you follow me on Instagram or Twitter, you probably haven’t seen them.

LanatusLanatus

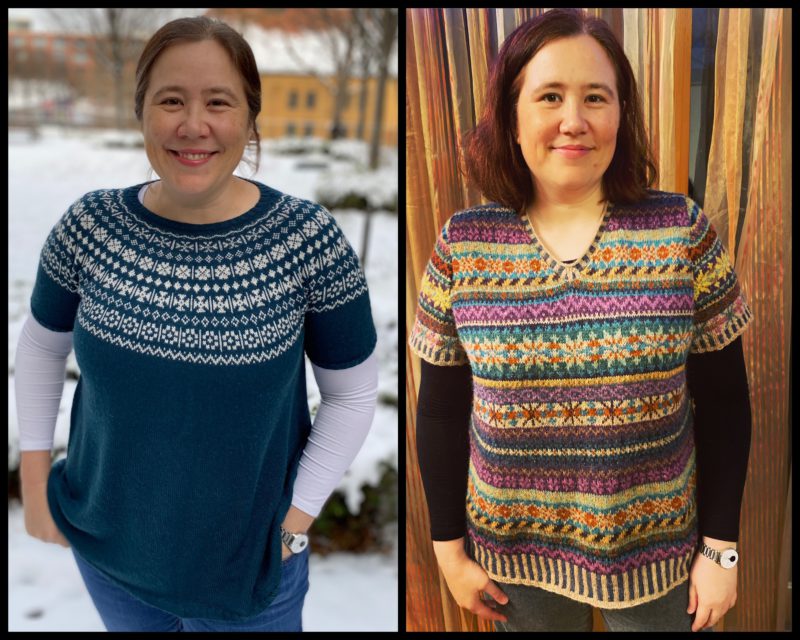
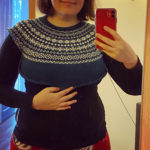
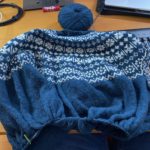
I learned about Susan Crawford’s new book Evolution through Twitter last year (there was some kerfuffle about her not being able to advertise it because of the name), and I immediately fell in love with the Lanatus pullover. My version is knitted out of Lana Gross Cool Wool Fine in a beautiful teal blue and white. It’s knitted from the top down, and my first attempt at the fairisle yoke had to be frogged when I realised I wasn’t spacing the motifs out correctly. It was a fun knit though, and the yoke ended up beautiful. The only real modification I made was to knit the body a fair bit longer because of my height. Slogging through the endless stocking stitch body was a pain after the fun of the yoke, but I’m so happy how it turned out! I love wearing it. The wool is beautifully soft and not itchy at all. I’ve been wearing it over a long-sleeve tee, but I think in spring I could wear it just on its own. More details over on Ravelry…

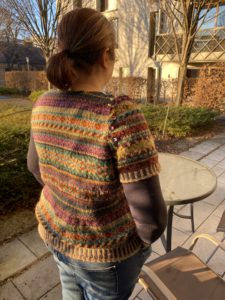
OrkneyOrkney (Vee)

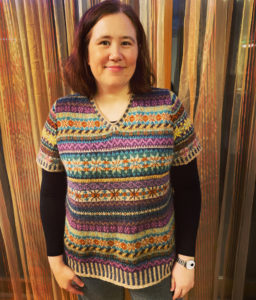
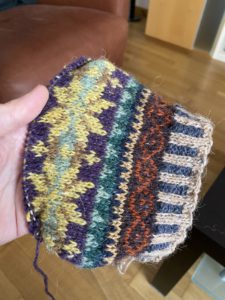
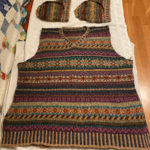
This one is epic. I can’t remember where I first encountered Rowan’s Orkney by Marie Wallin (probably from Donna since it’s in her queue), but I know I bought the wool at Calico and Ivy’s closing down sale in March 2013 and started knitting the pattern sometime that year. My plan was to knit it as a cardigan, but modify the pattern to be knitted entirely in the round with steeks for the front opening and sleeves. It was looking a bit small as I knitted it, but in a fit of stubbornness and denial I knitted it all the way up to the shoulders before finally accepting that it was never going to fit me comfortably. Then I discovered the Ravelry comments for the pattern, most of which point out that the tension as stated is just really weird for this yarn. Well, crap. In a fit of pique I stuffed it in a bag and shoved it in the naughty corner, and it sat there for the better part of seven years.

In January 2021, I decided that dealing with Orkney was going to be a New Year’s Resolution. I got it out to double check the sizing, hopeful that somehow it had either grown over the years or I had shrunk. I even tried putting it on waste yarn to pull over my head and down to my waist to prove it had way less ease than I’m comfortable wearing. Well, nothing to do but to frog. I frogged the whole thing. The dust on it actually triggered an allergy attack! Then I skeined up all the wool (with the help of the Snook), washed it, dried it, and rewound it into balls. (You can watch the ball winding on YouTube!) Then it was time to start over.

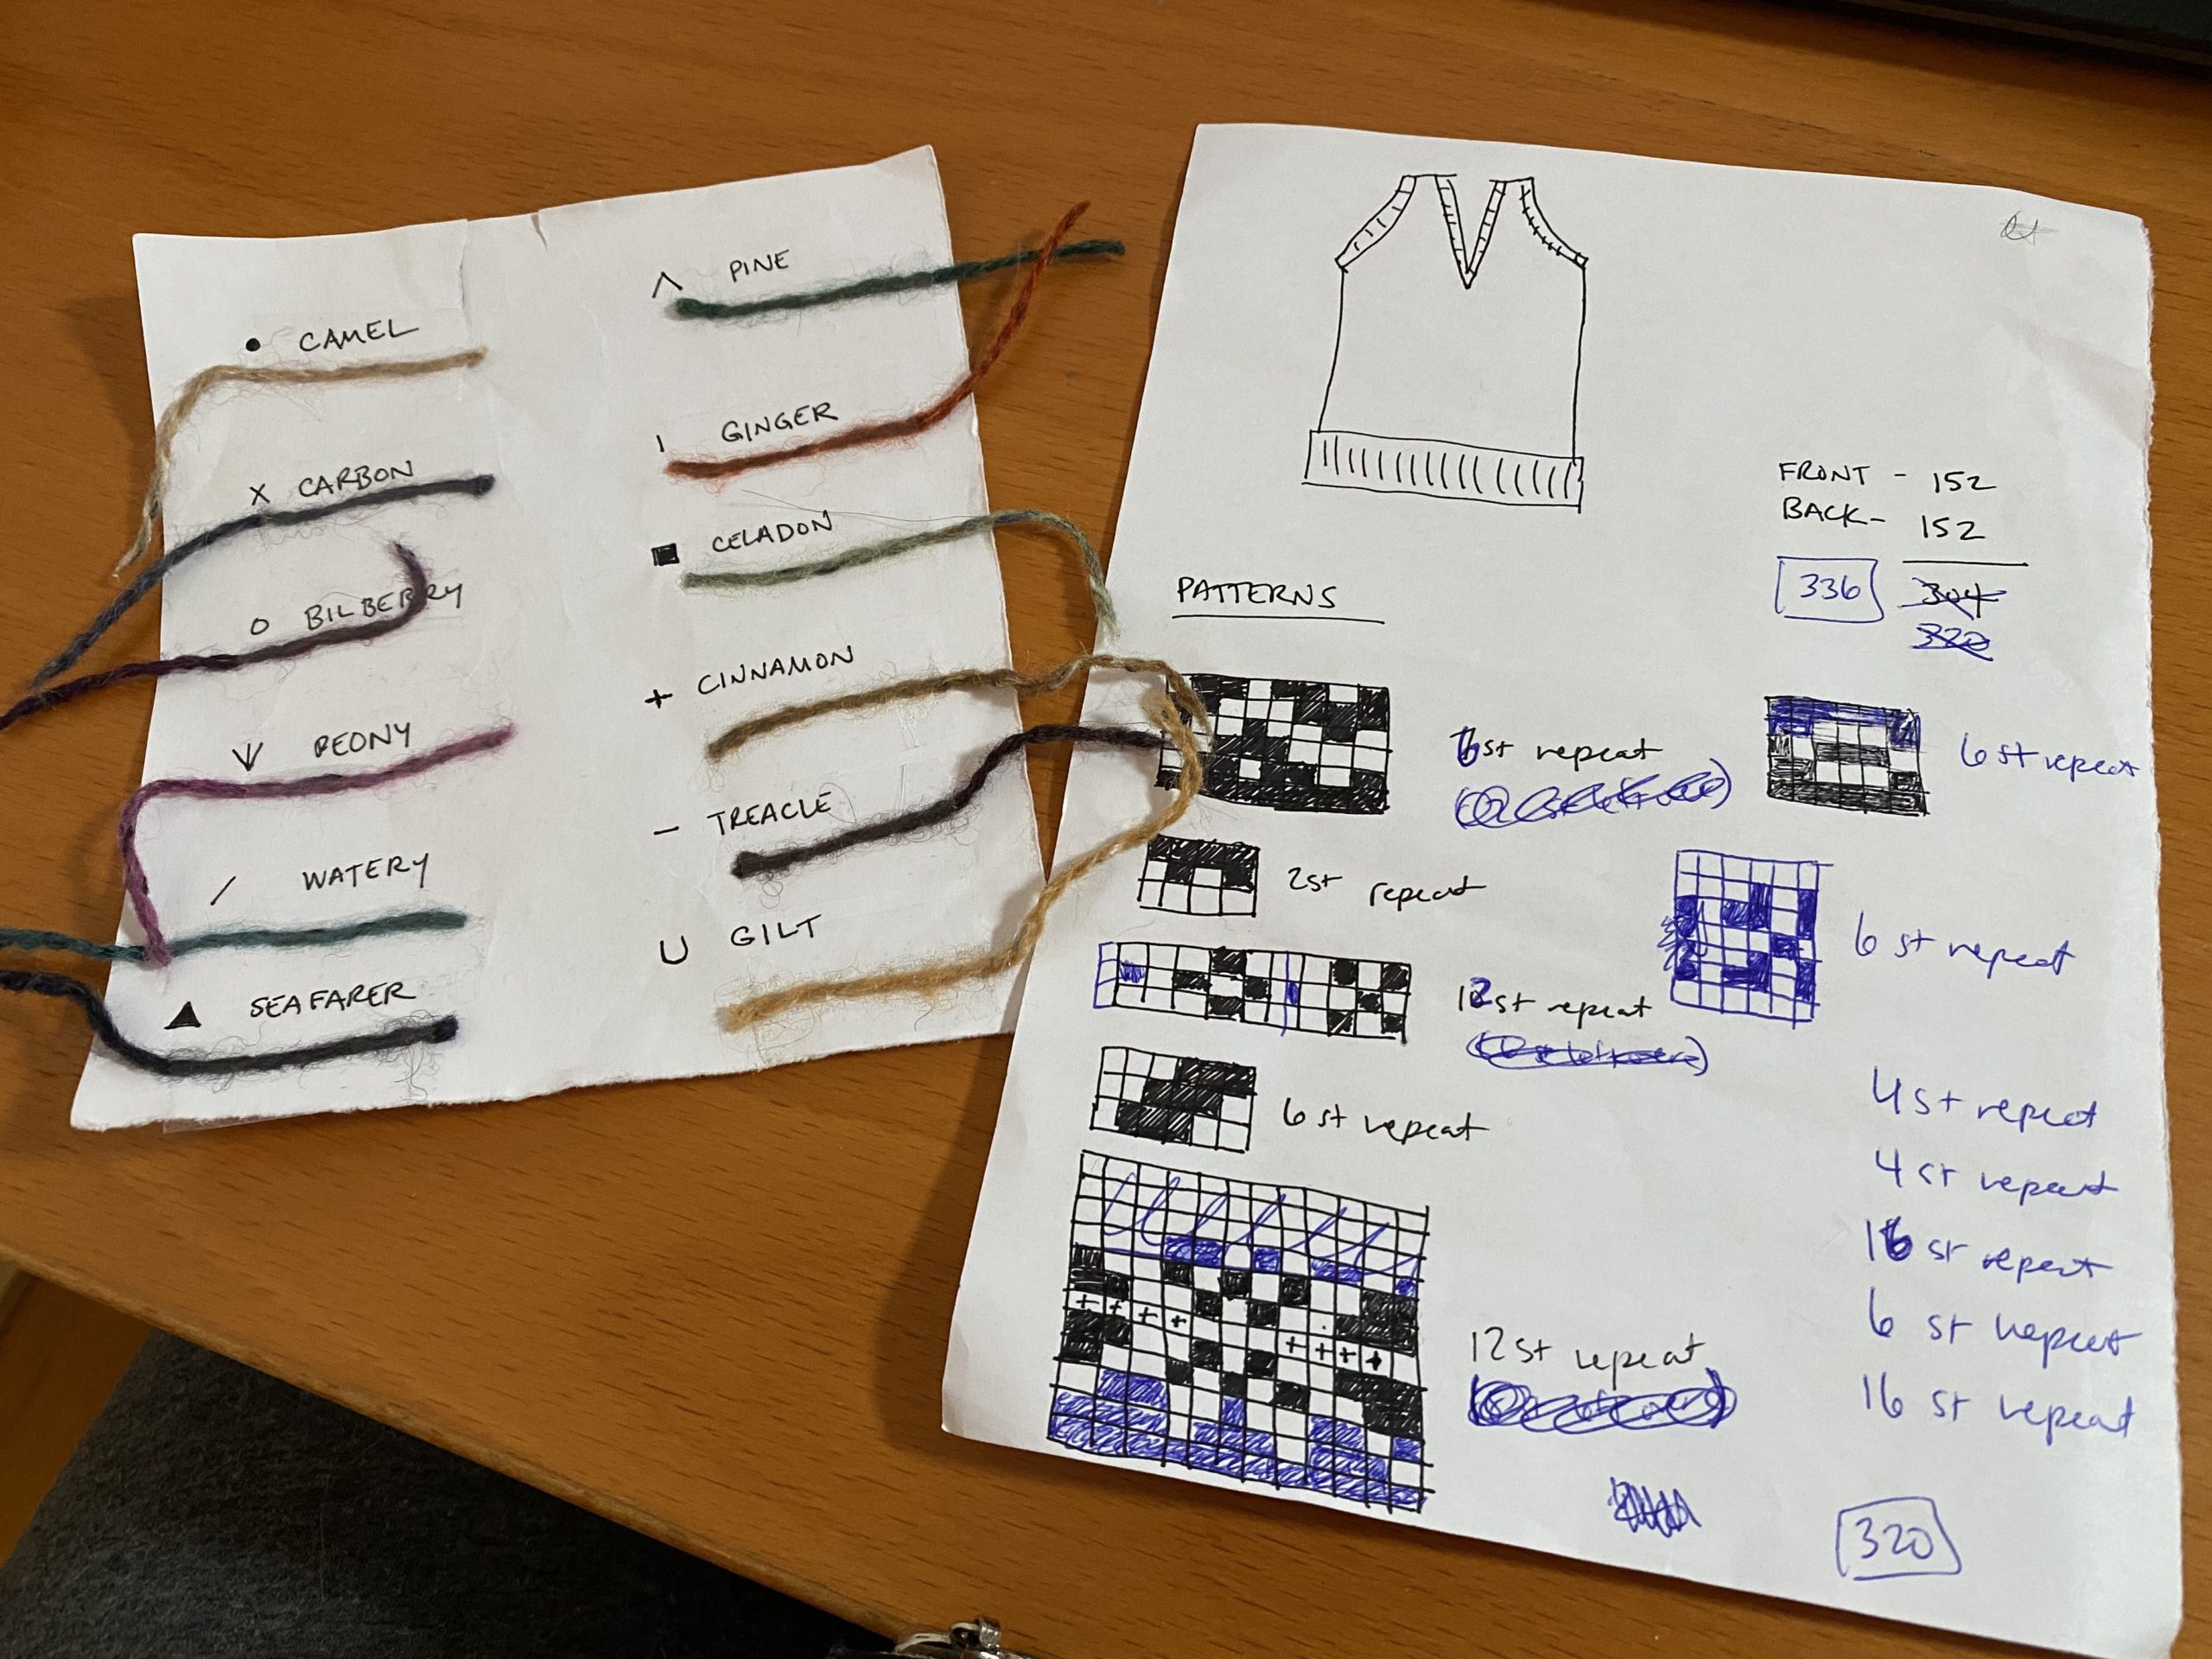
This time I had a think about the garments I actually like wearing. I don’t wear twee little cardigans. So instead I decided to knit it as a pullover. I still wanted to knit it in the round, so I spent some serious time working out the maths so that all the patterns would repeat smoothly all the way around. It turns out that 336 stitches would allow every motif to repeat evenly* and, with my tension, would come out to the size I wanted. It was also close enough to one of the pattern sizes that I could still use the sleeve cap shaping. Therefore I got to work knitting the body in the round over 336 stitches. I started with a larger needle but dropped to a smaller about halfway along, figuring that would give it some shaping and a little extra room around the hips.

*There is a single motif that is 10 stitches wide – a 3-row motif of x’s and diamonds. I added two stitches to it – a little peerie dot in the middle of each gap. That got me to 12, which fits perfectly into 336. Yay!

Orkney notes

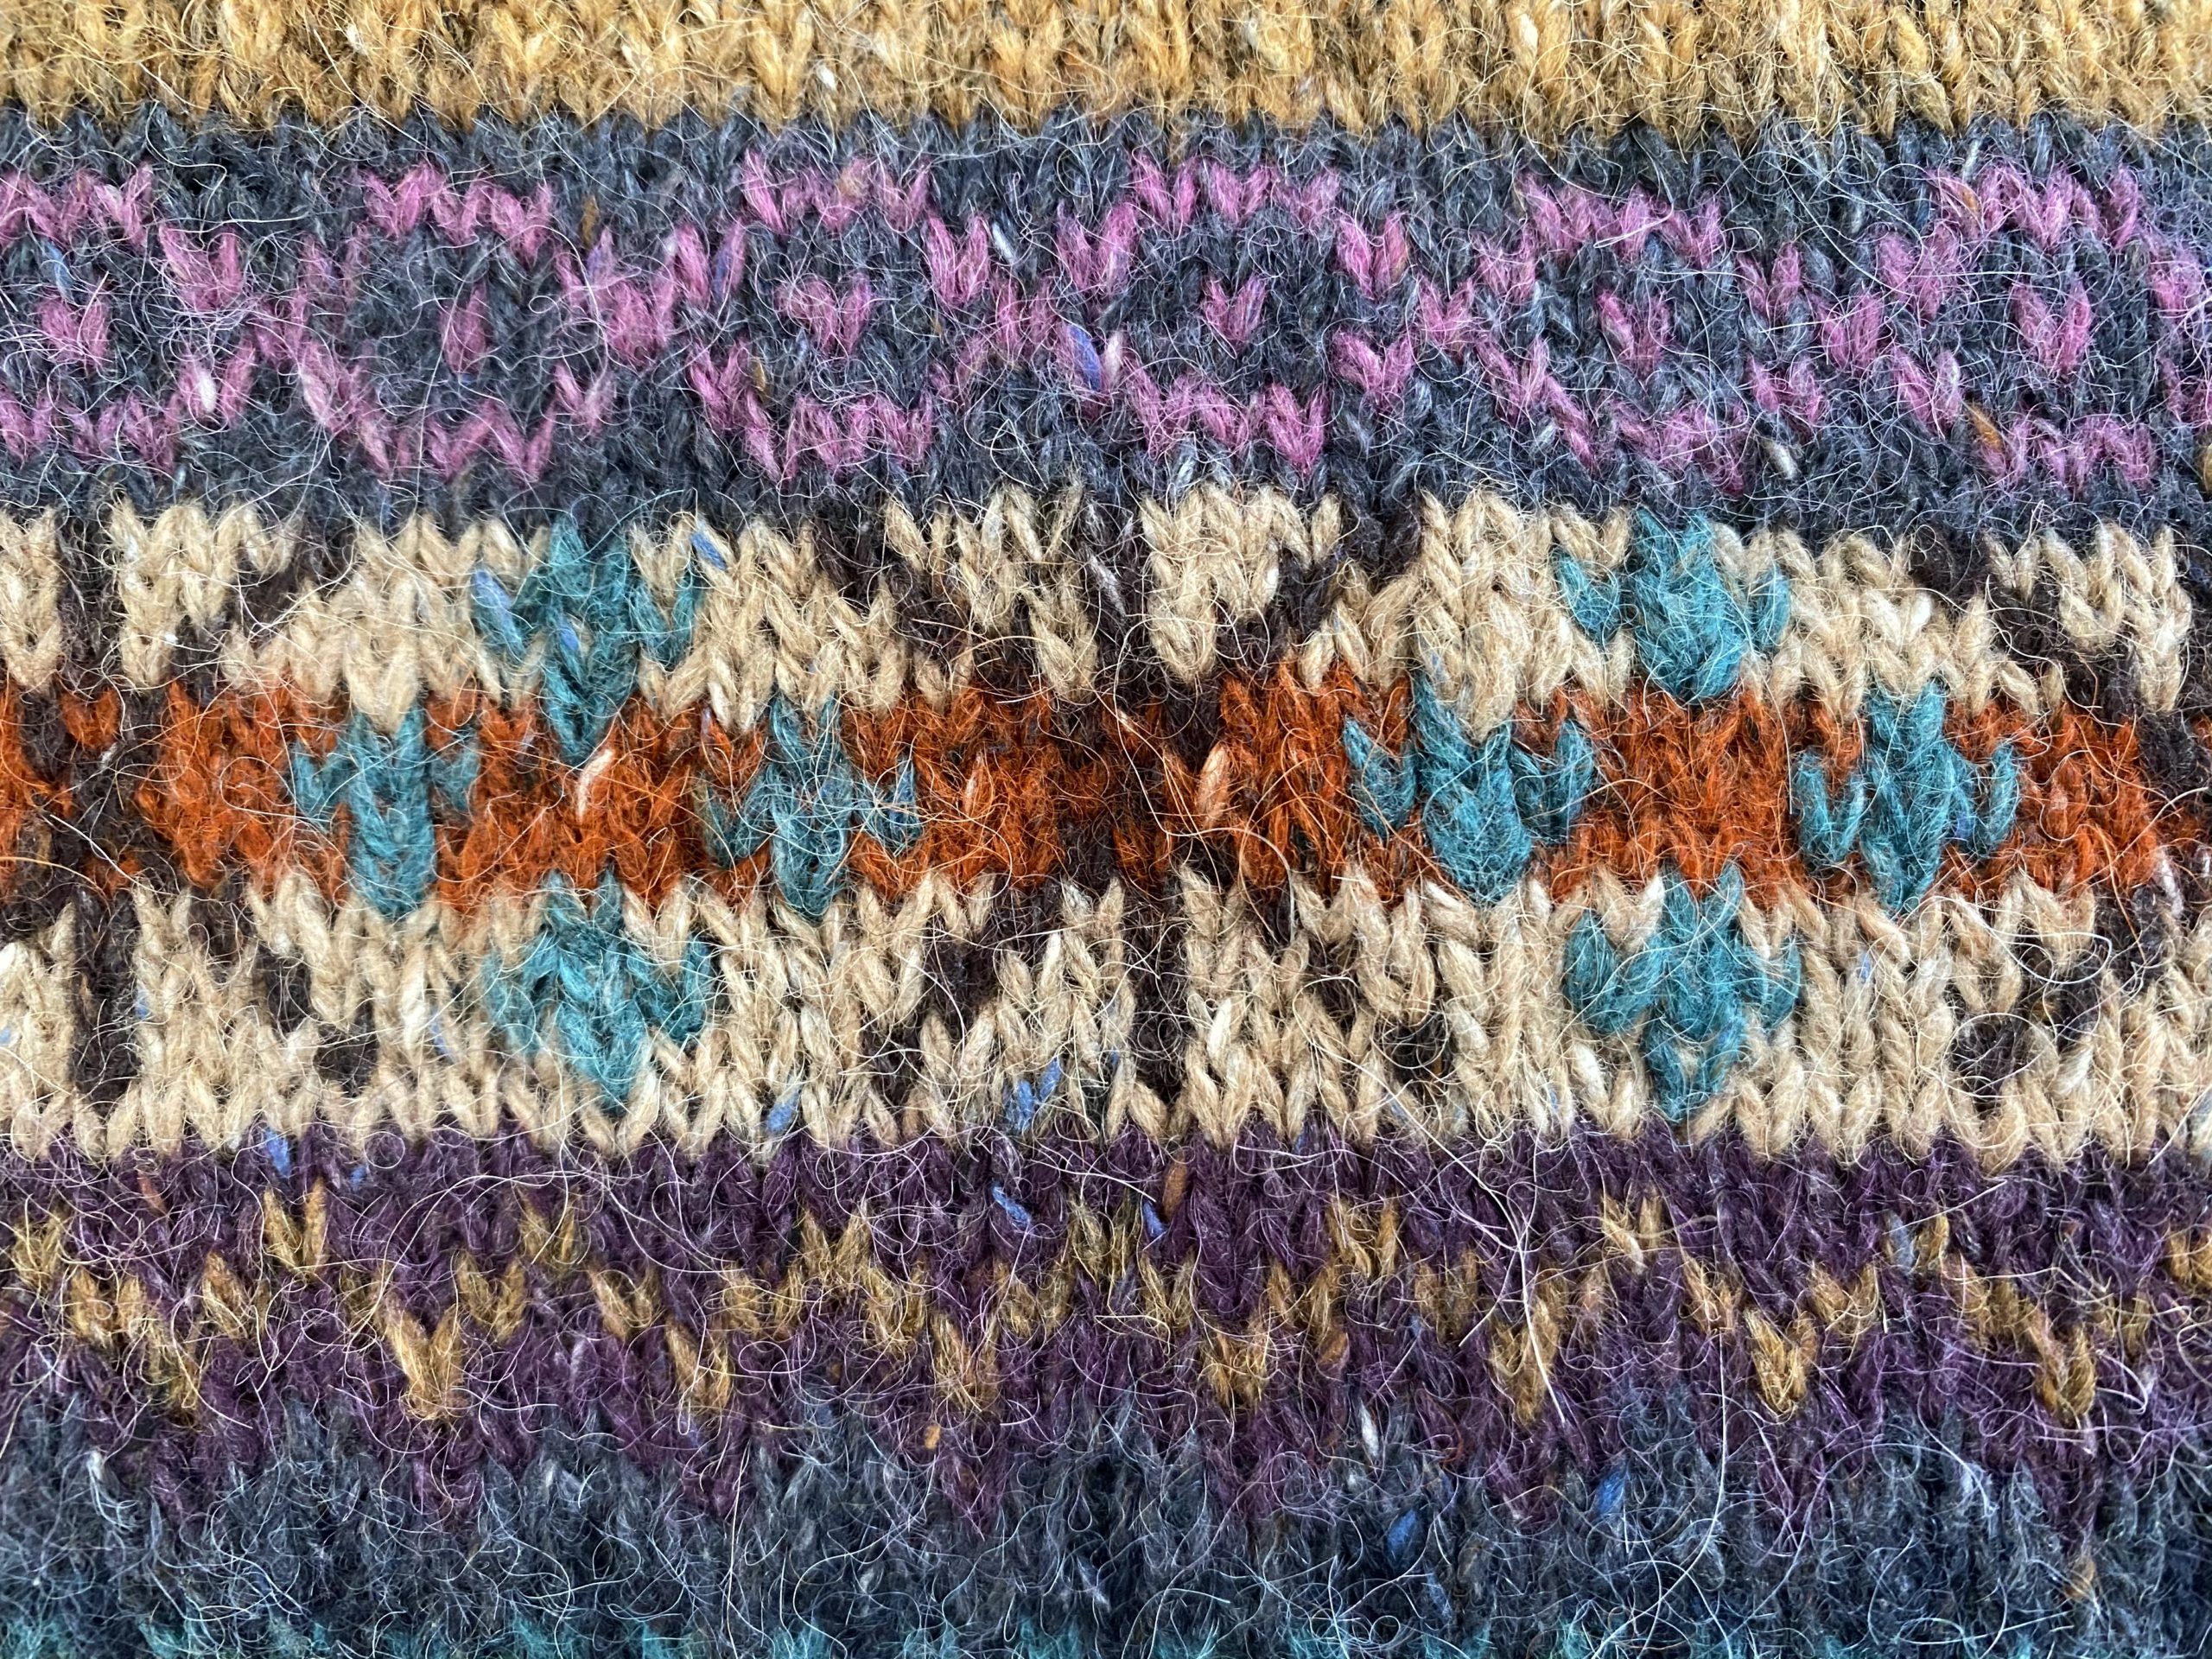
The only bit of the body that gave me any trouble was the motif across the middle with brown X’s and aqua diamonds on top of a series of camel and red stripes. (See image below.) This motif requires you to juggle THREE colours in a single row. What a pain! I actually tried it out; I’m a pretty experienced fairisle knitter and I have no problem carrying one colour in each hand. But adding a third one in there while avoiding getting them all twisted… was really torturous. So I undid that part and then had a brainwave: I could embroider the aqua bits on afterwards! So I knitted that motif with just two colours per row, leaving off the little aqua diamonds, and then went back afterwards and used duplicate stitch to add them. (This motif also appears on the sleeves, so I did the same thing there.) This is much easier and faster, and you can barely tell the difference!

The problematic motif

Once I got to the armholes, I switched to knitting the front and back separately. Of course, this required me to knit flat fairisle, so I had to deal with purl rows. It was tricky and slow going, but I got there. I did the back first because I hadn’t yet decided what the front neckline would be. Rather than follow the pattern’s instructions for a traditional “stairstep” shoulder shaping, I modified the pattern to use short rows and left the stitches live for a three-needle bind off.

For the front, I decided to go with a vee neck. (Partly this was driven by the fact that I do find Rowan Felted Tweed a bit itchy, and I didn’t want it right up against my neck.) I found a vee-neck pattern in a similar weight wool and size, and used that schematic and shaping to work out when to start the vee. I basically did a decrease on every right-side row until the point where the front shoulder width matched the back. Again, I did the short-row shaping rather than cast off stitches, and I then joined the front to the back with a three-needle bind off. Here’s what it looked like at that point…

Orkney minus sleeves

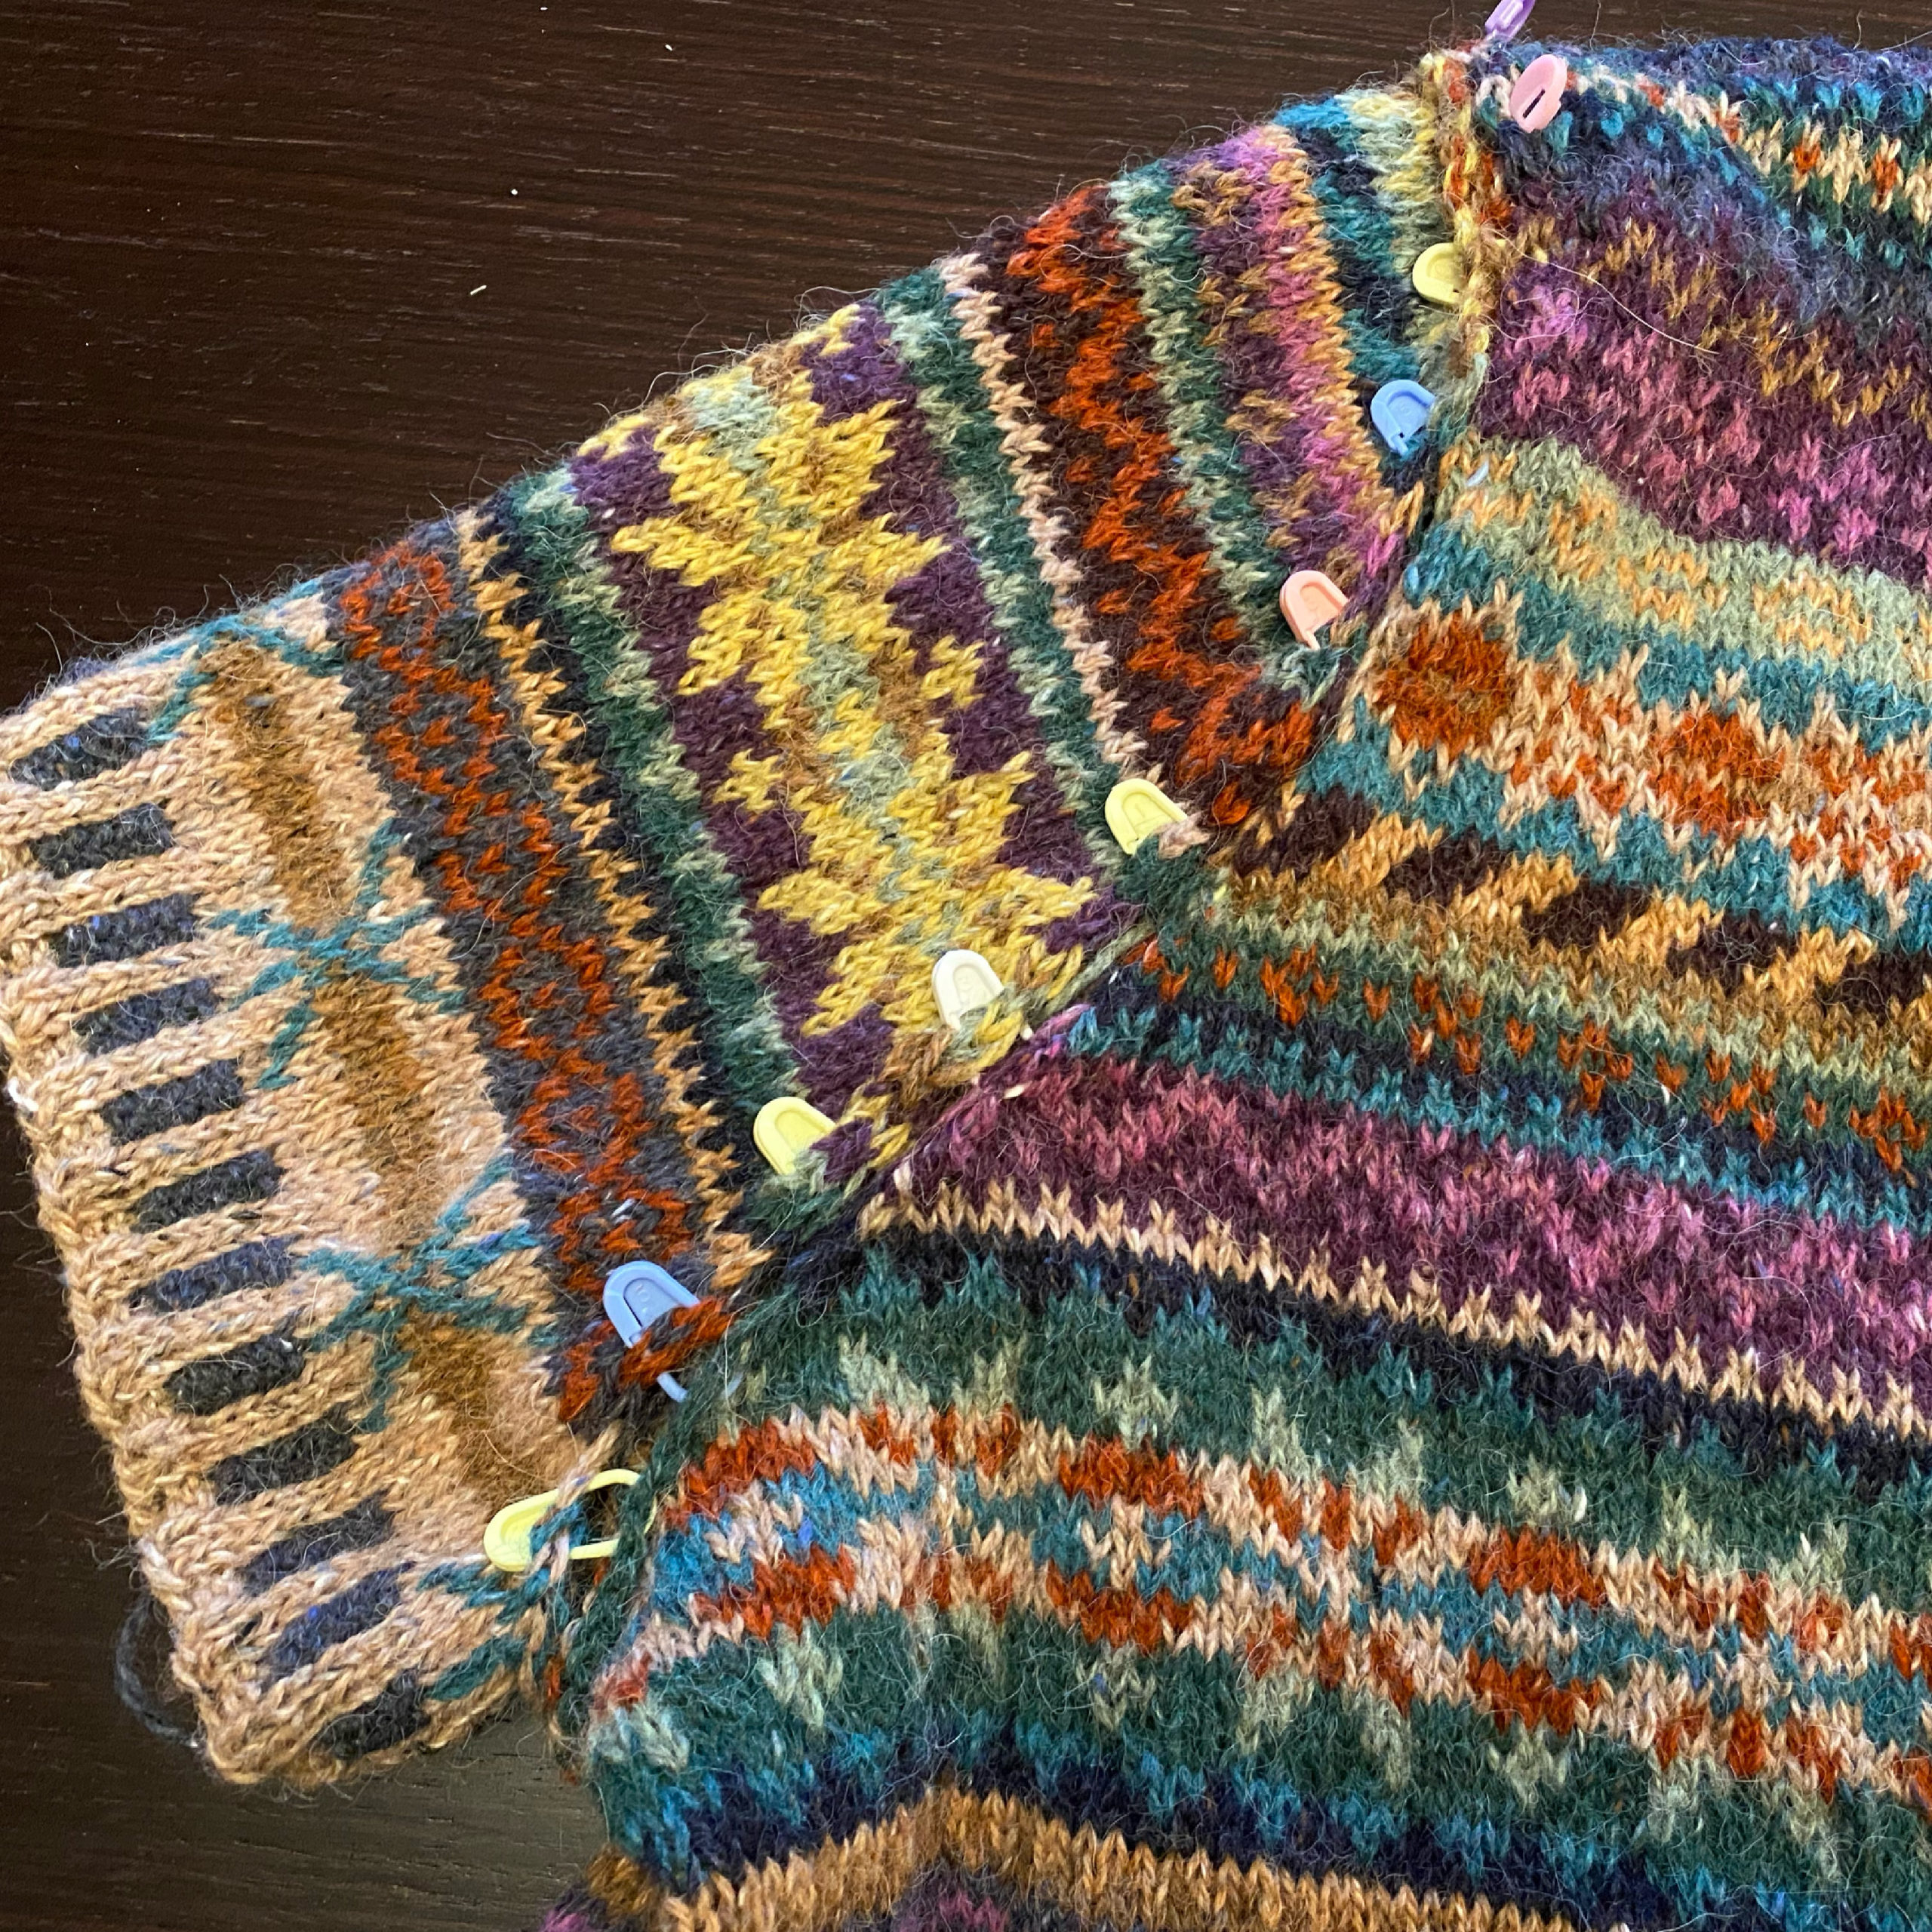
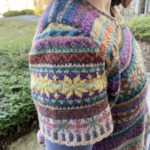
Then I had to decide sleeves. Because of the itchiness factor, I knew I’d be wearing this over a long sleeve tee so I thought short sleeves might be cute. The plan was to use the sleeve cap shaping from the pattern and then just add on a little extra length for the ribbed cuff. However, I ended up having to go through several iterations to modify this. Again, the weird tension of the original pattern meant that my sleeve cap was too short for the sleeve opening, so I reworked it a few times to add extra rows for the necessary height. I also ended up increasing the number of stitches to 108. I also tried to center the larger motifs on the sleeves so it would look nicer. Once I finally got a version that fit, I pinned it onto the garment and realised I had another problem…

The sleeves use the same motifs as the body, but knitted in different colourways. When I pinned on my sleeve, I realised that they were too close, with a given motif on the sleeve almost next to the same motif on the body. I figured that for the contrast to work, it really needed to look more deliberate. So I again frogged the sleeve and started over, this time starting with a different point on the chart so that they didn’t line up so closely. Much better!

Redone sleeve

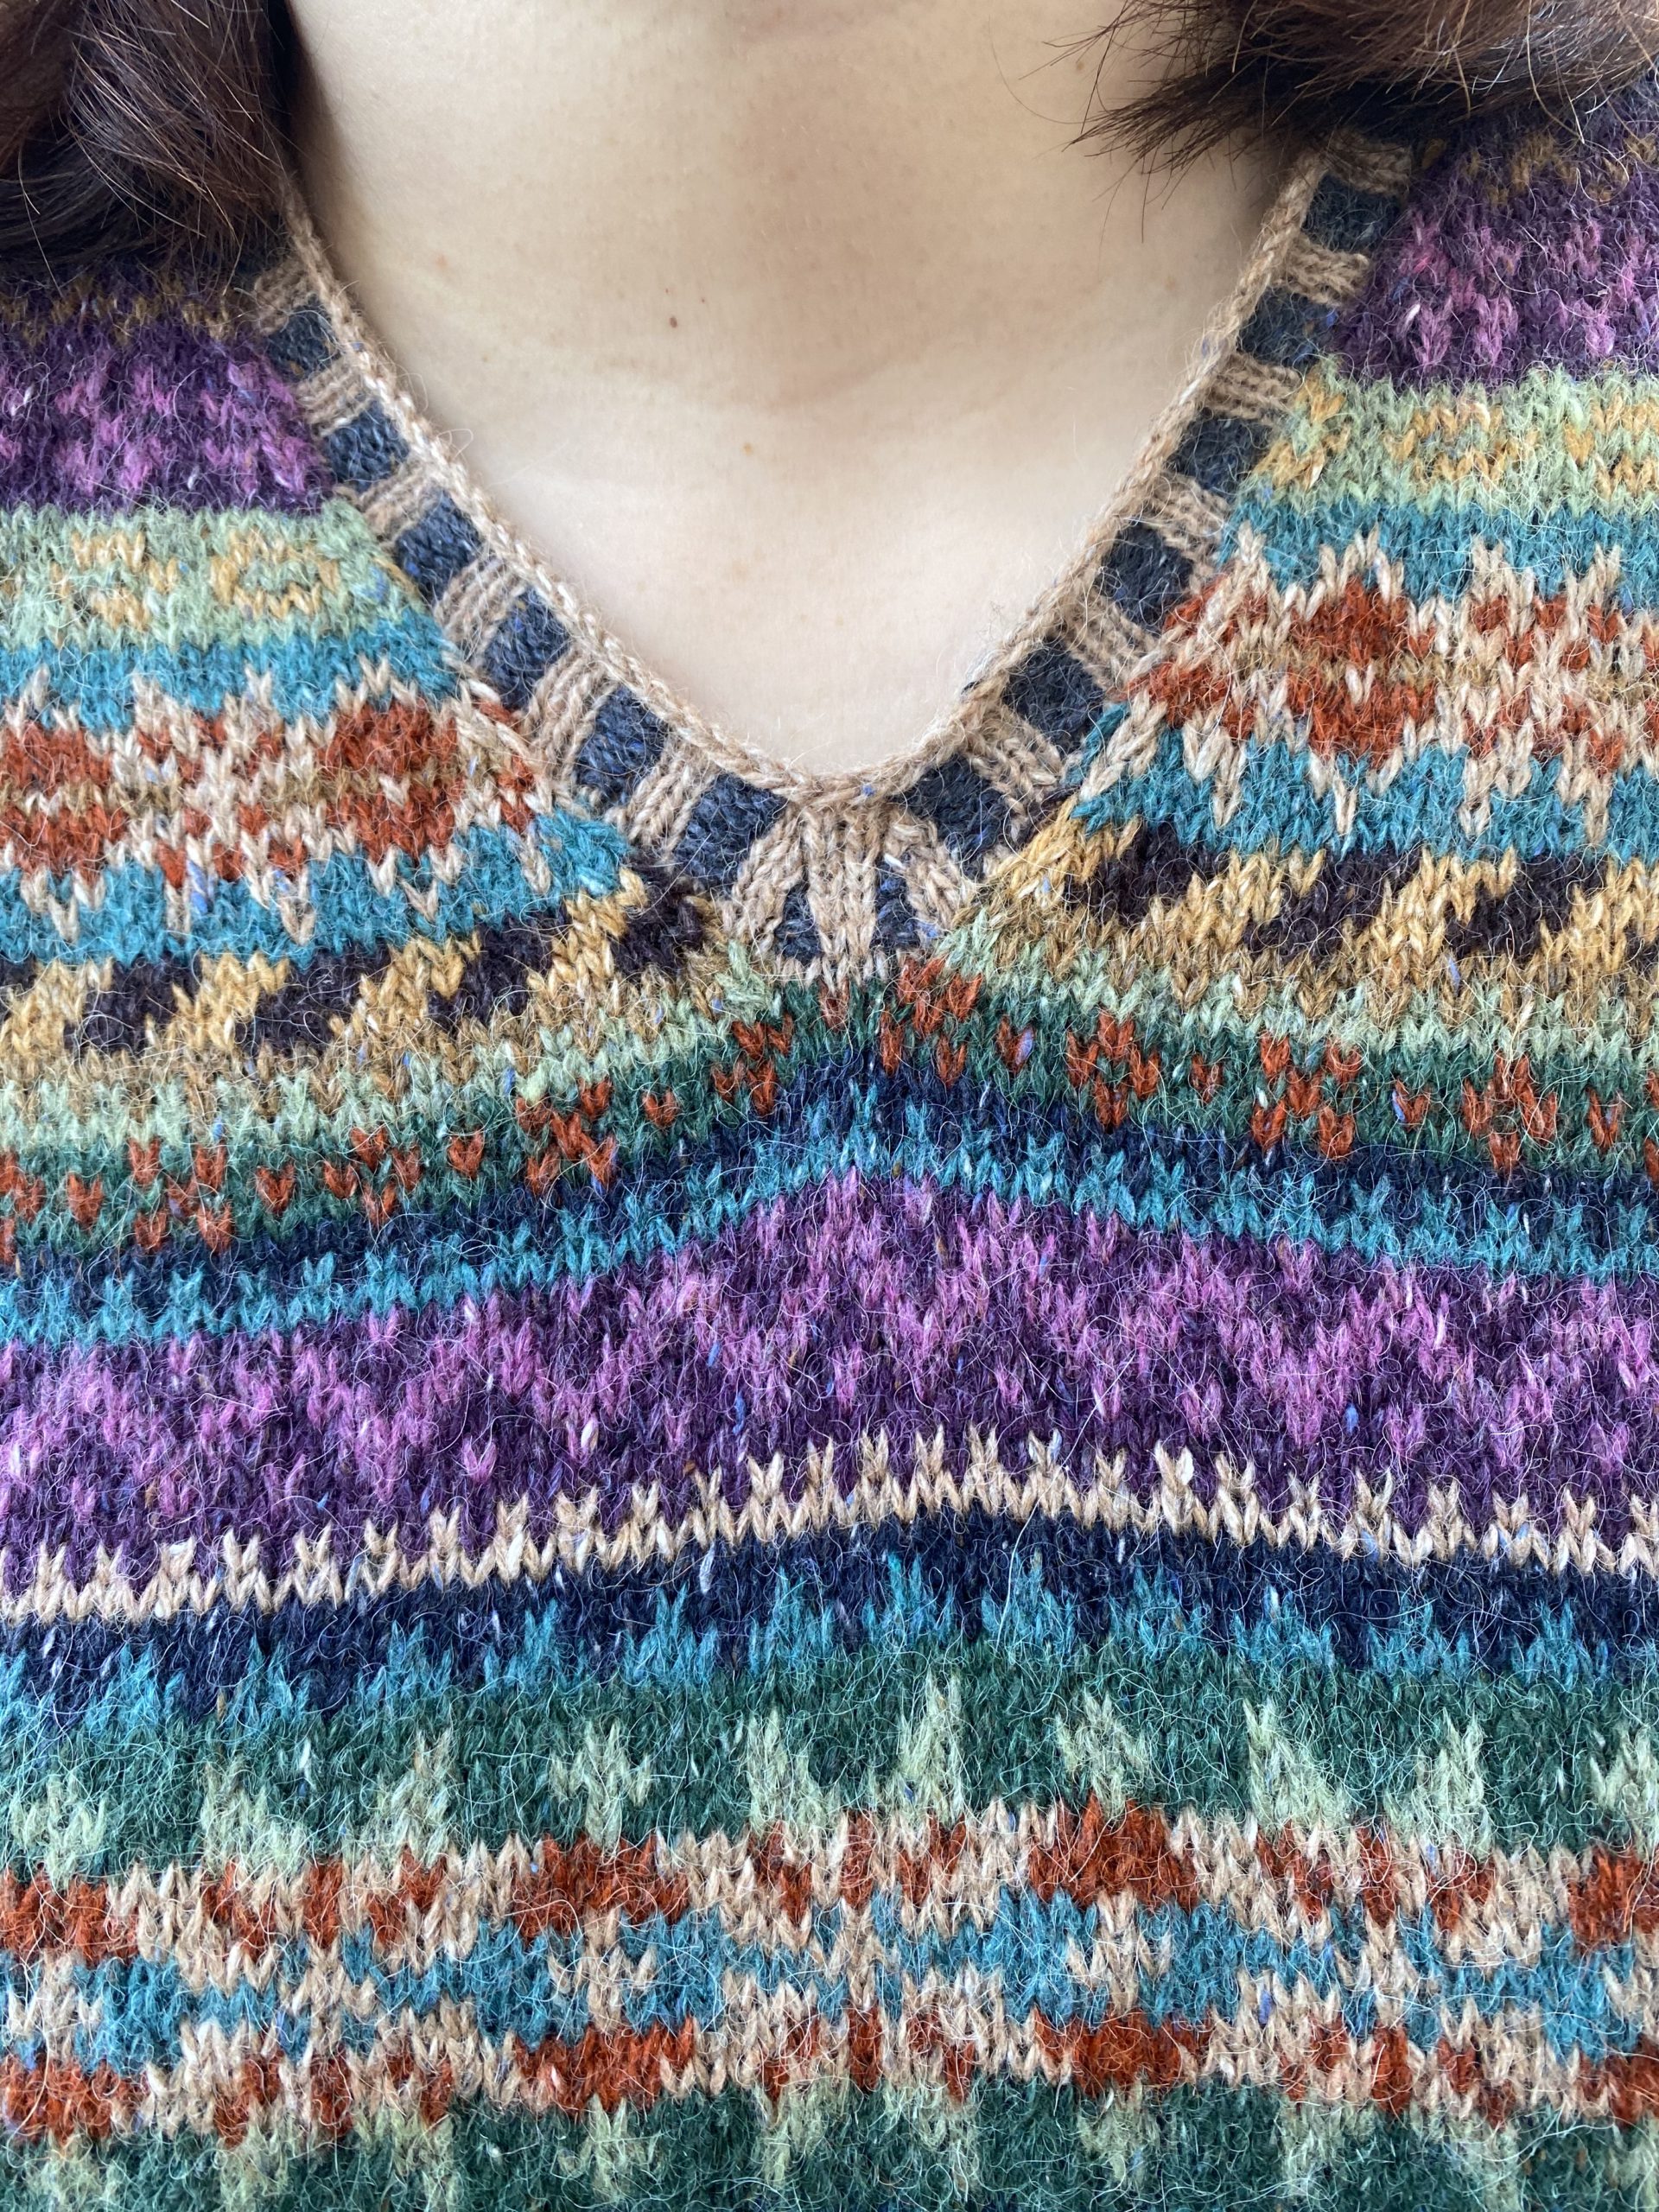
The last bit of knitting was the corrugated ribbing neckline. I realised as I was picking up stitches that most patterns and tutorials for a centered decrease vee-neck ribbing are for 1×1 rib rather than 2×2. I couldn’t find any examples of it, so I had to figure it out on my own. I think it looks pretty good in the end!

Vee neck

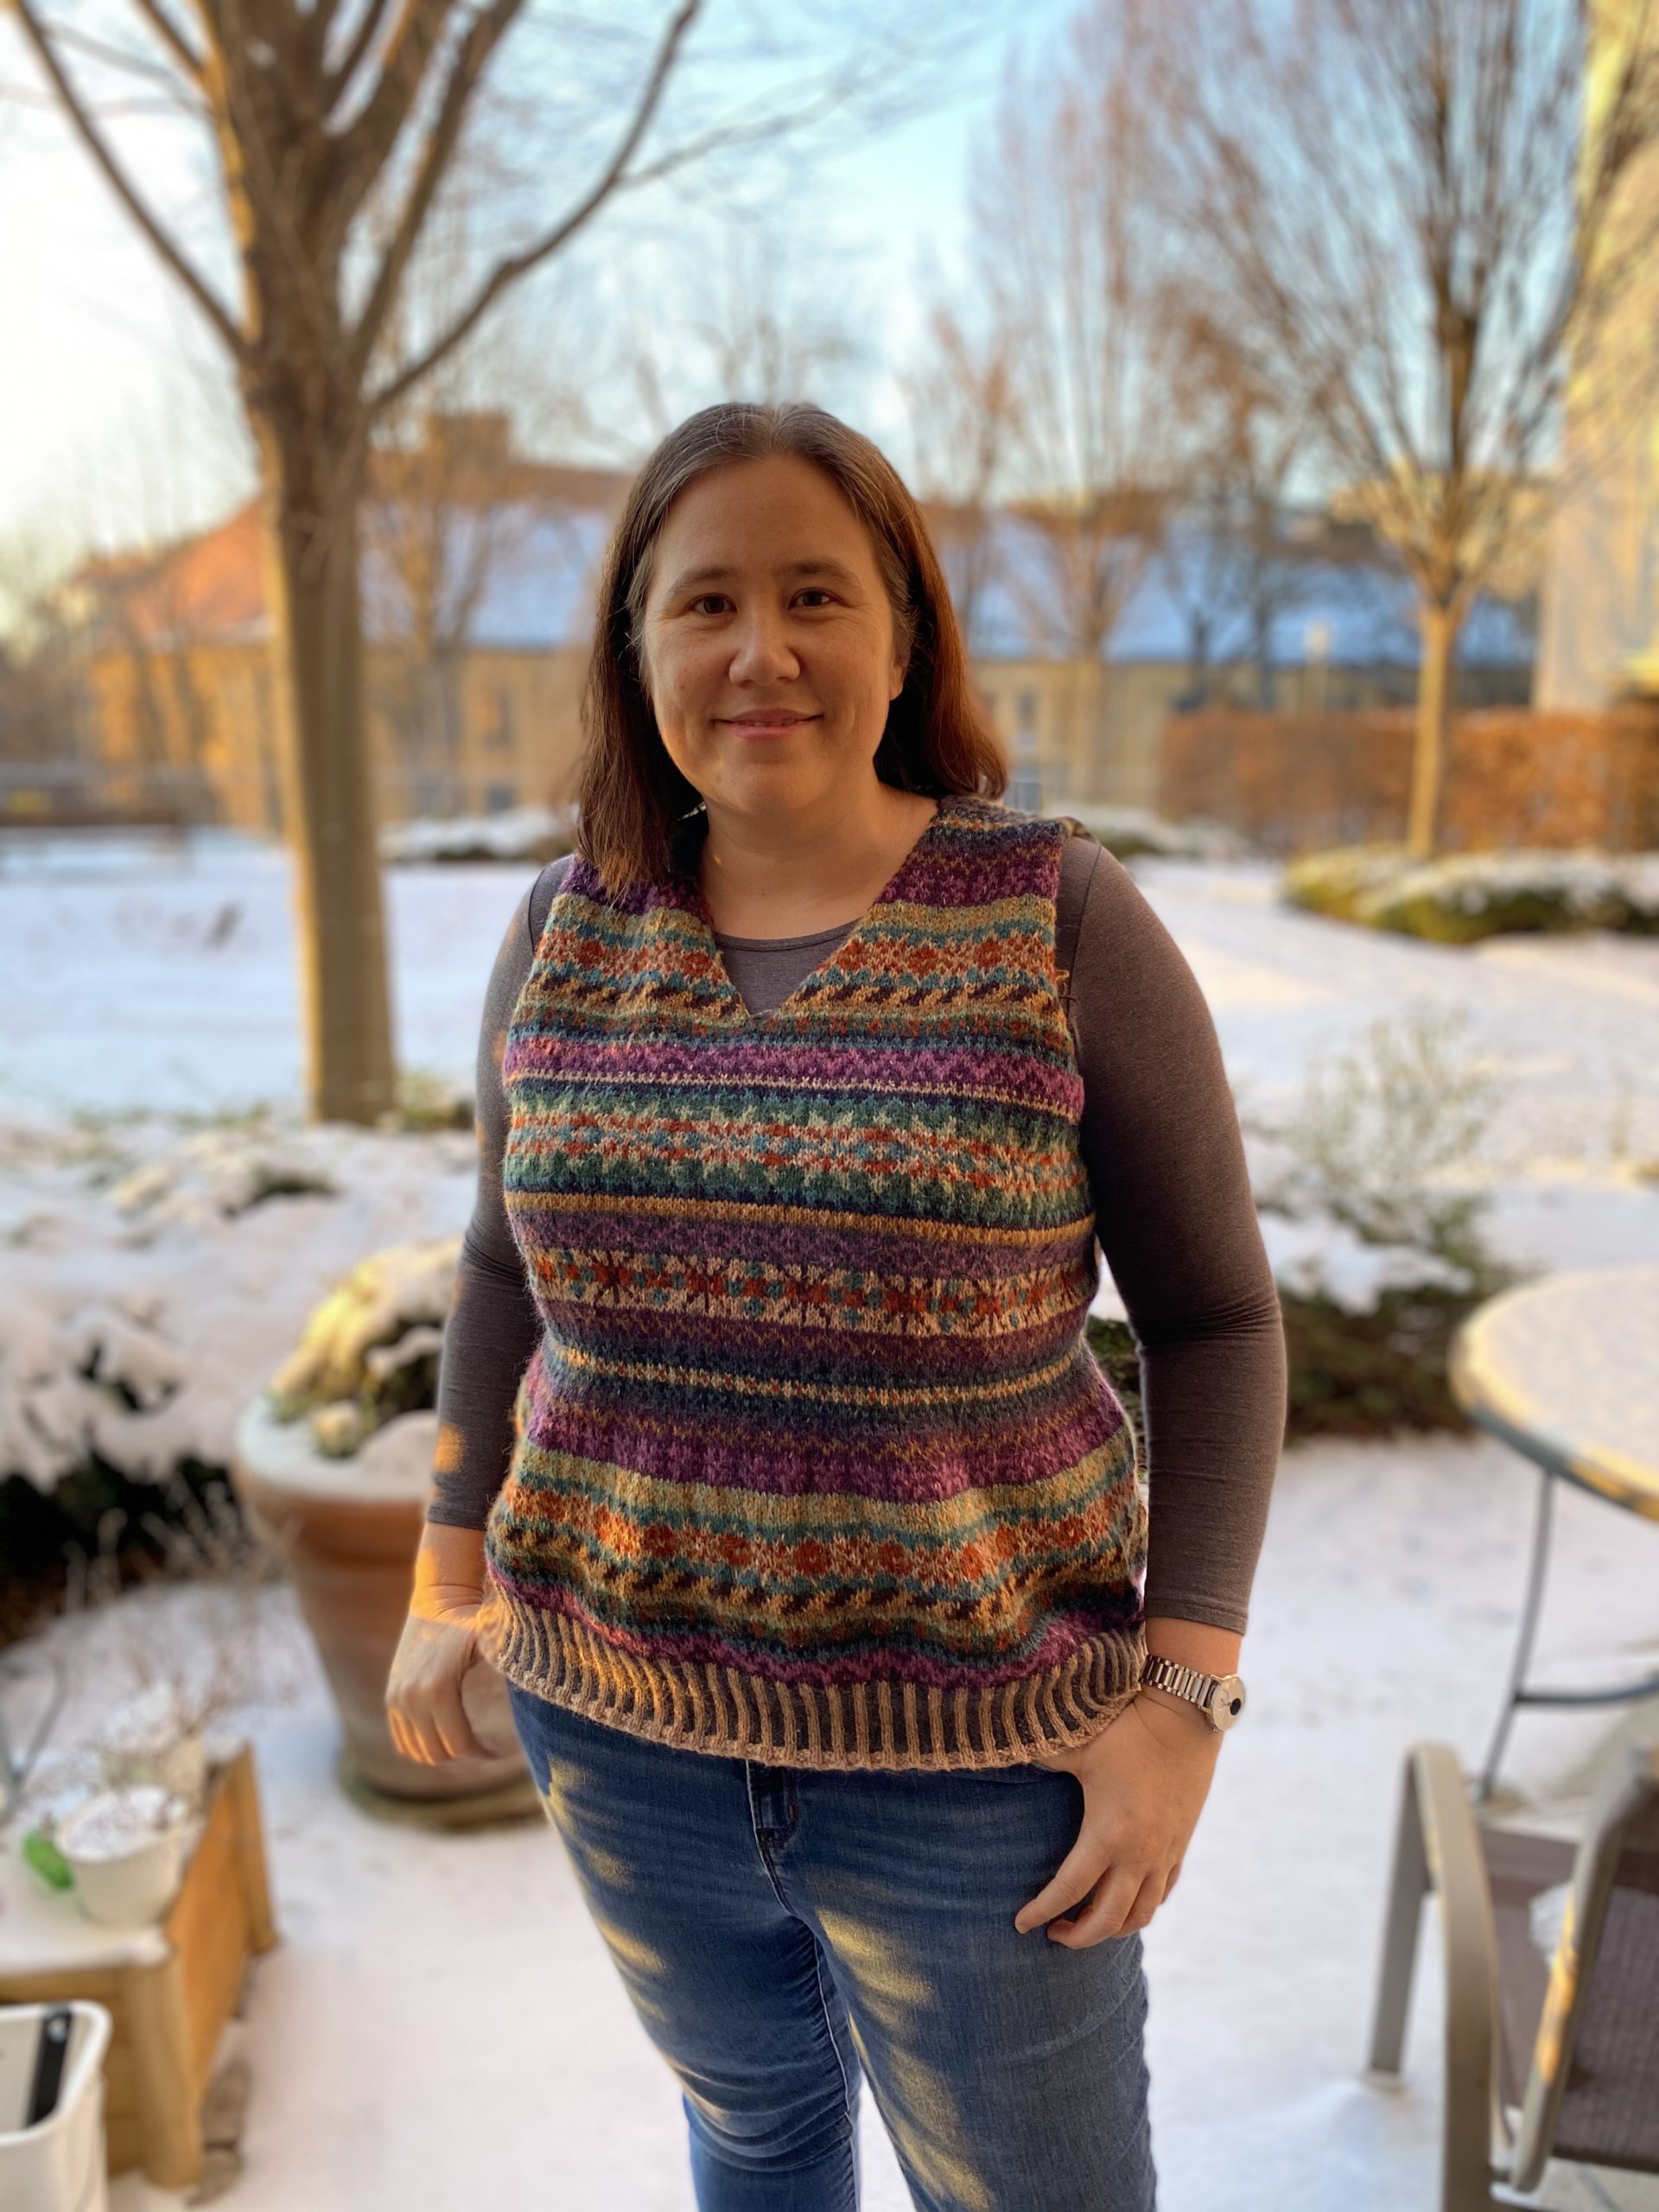
After a LOT of weaving in (and duplicate stitch embroidery on those 3-colour row motifs), I gave all three pieces a wash and a gentle block. Then I sewed on the sleeves and wove in the final ends. It’s done! Nearly eight years after I started… ❤️ Full details over on Ravelry.

Craft Project: Beard Mask

Subtitle: Why is your face like that?!

You will recall that earlier this year I trialled several different free mask patterns, and I had some trouble finding one that the Snook deemed comfortable. We ended up just going with the ragmask for him, but it does smush his beard and leave him with unsightly Mask Face whenever he takes it off. Since then, I’ve seen several examples of BEARD MASKS, and now that my sewing machine is here (and we’re going into more lockdown), it seemed like a good time to try one.

Sewing station

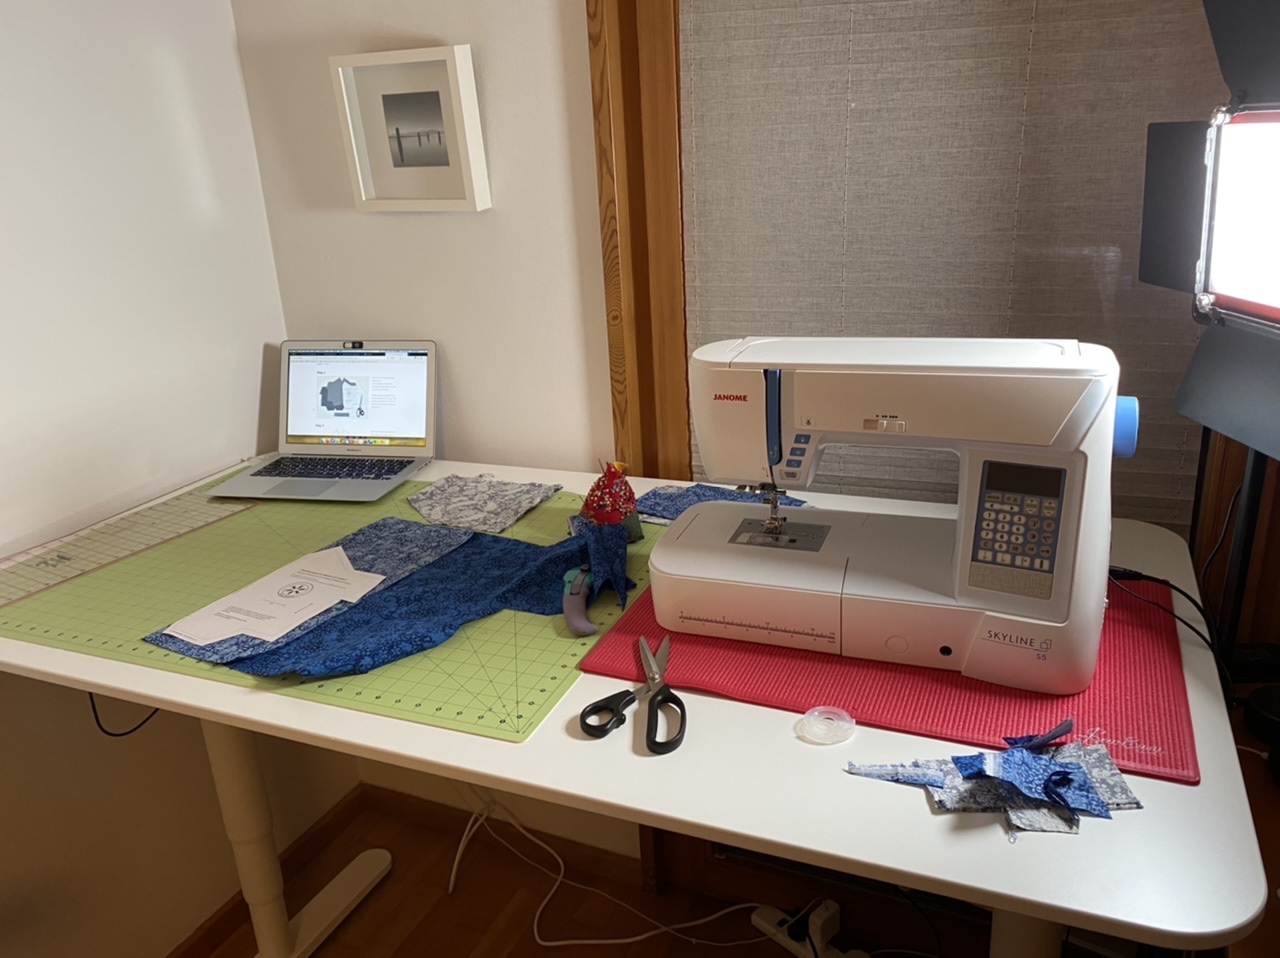
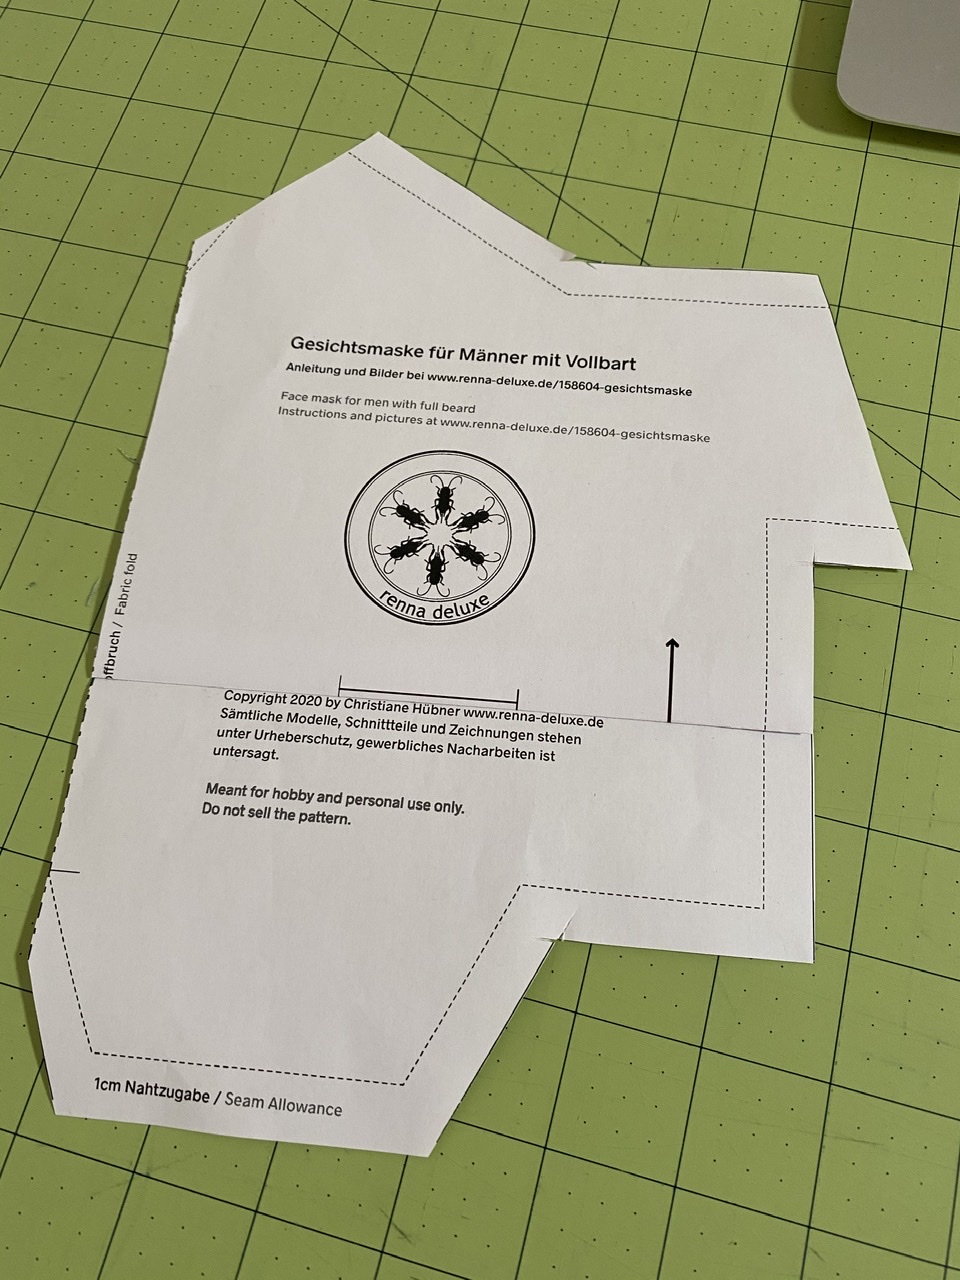
I selected this pattern from German designer Christiane Hübner, which seemed simple enough. For fabric, I ordered a pack of paisley samples from Amazon and used those for the outer layer, with some scrap blue fabric for the interior. Feeling confident, I printed out the pattern and whipped up a pair of masks… only to run into disaster.

Bad fit

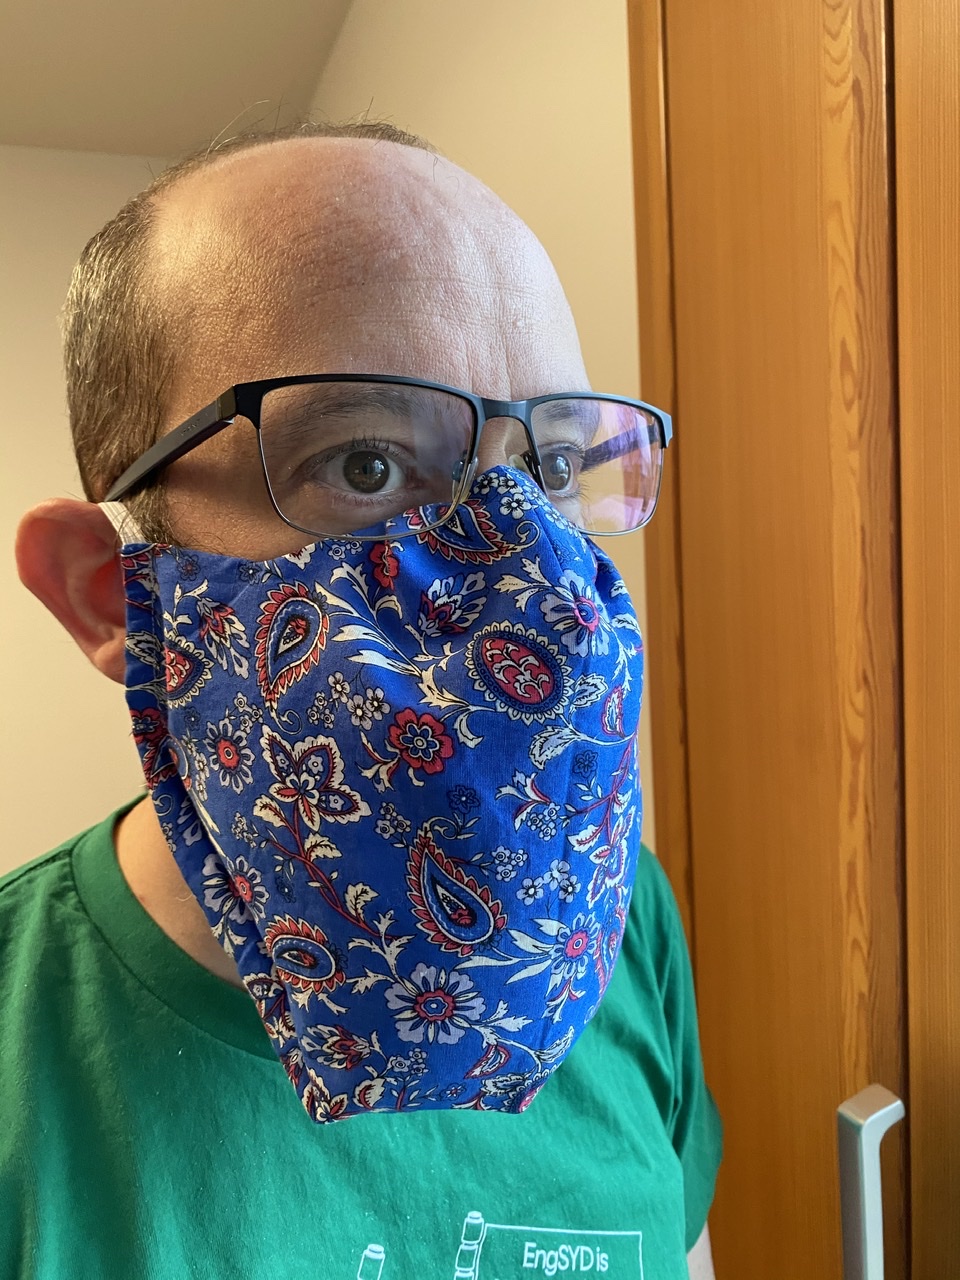
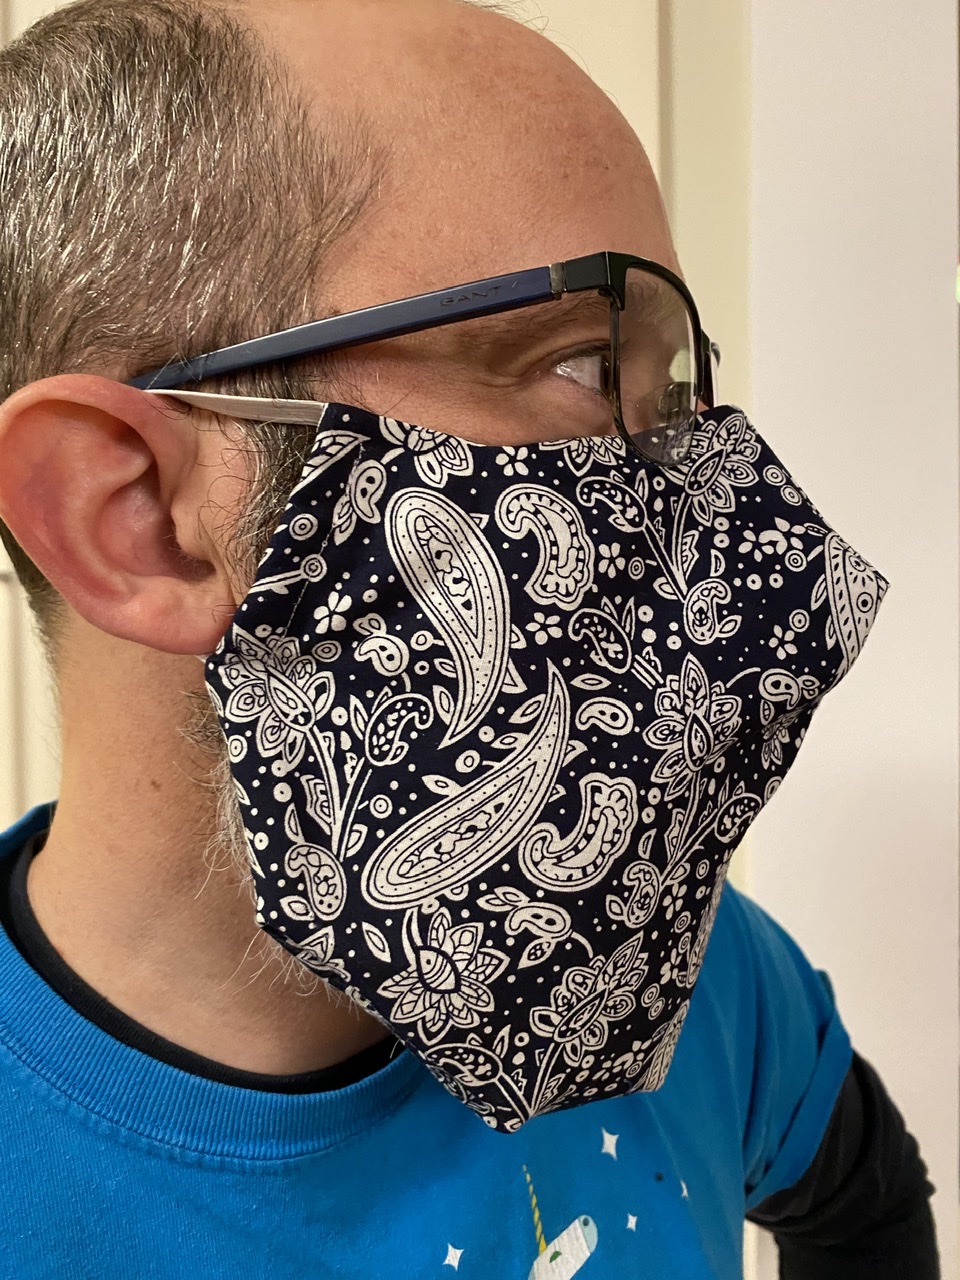
WTF. It’s standing way up off his nose. I was perplexed. “It’s like your ears are too high or something?” Even with a wire inserted for the nose, it refused to sit properly. It was also too long for his particular beard length, and if he lowered his chin even a little, it pushed the mask up into his eyes again. We pinched and prodded, and it seemed like maybe some additional darts in the cheek area would help?

Okay, back to the drawing board. I started by completely unpicking both masks and ironing the fabric. The easy change was to shorten the pattern by folding it up to take about an inch of length out. Then I recut the pieces for the first mask and made two additional small darts about an inch to either side of the nose. Once it was all back together, I took it down to the client for a fitting.

Mask v2

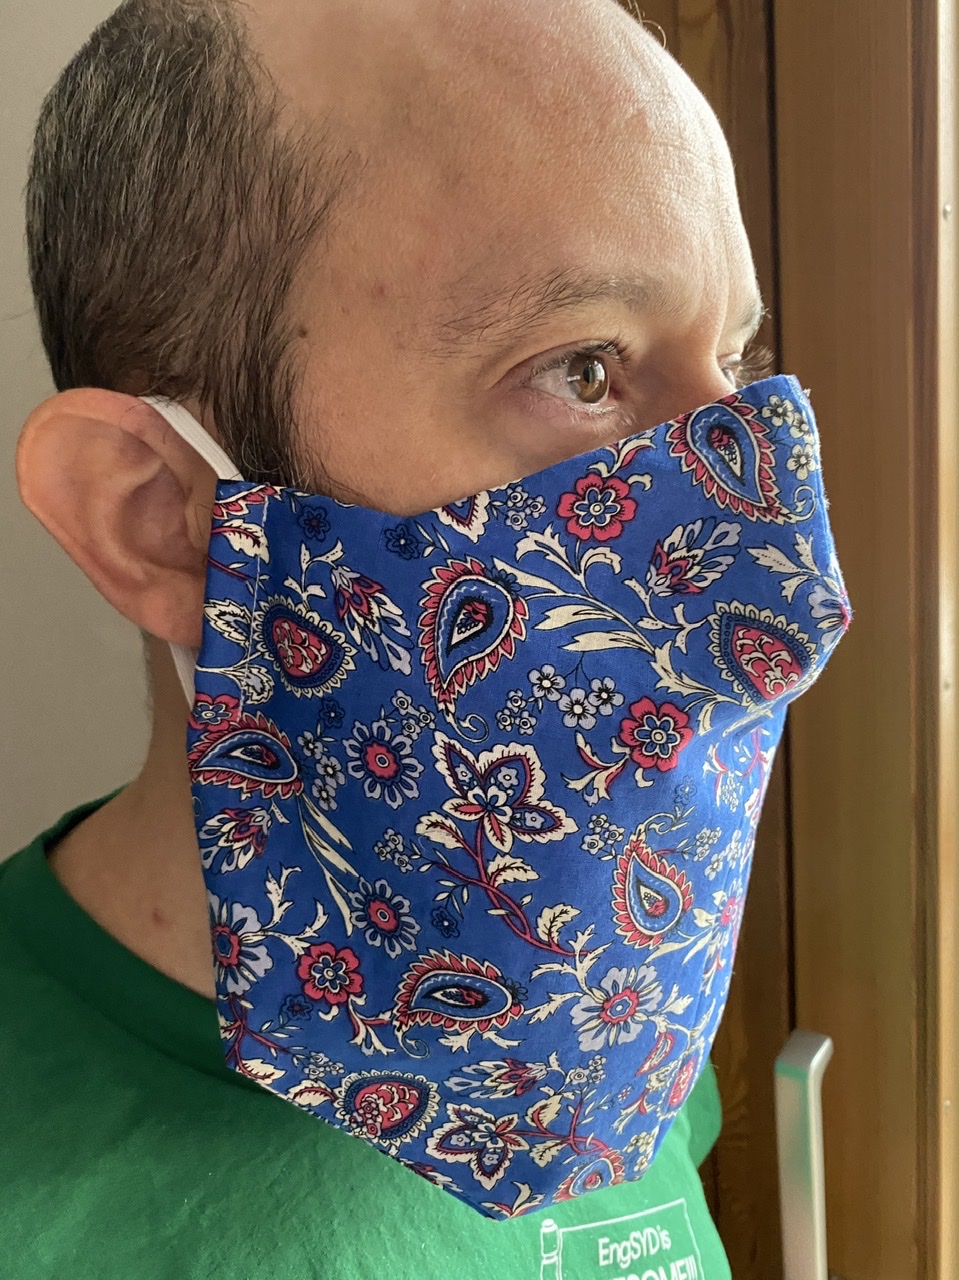
That’s better! The v2 mask is definitely fitting better around the nose, though there’s some pooching from the darts. It’s also a better length for the beard. Verdict: the v2 mask was deemed Acceptable.

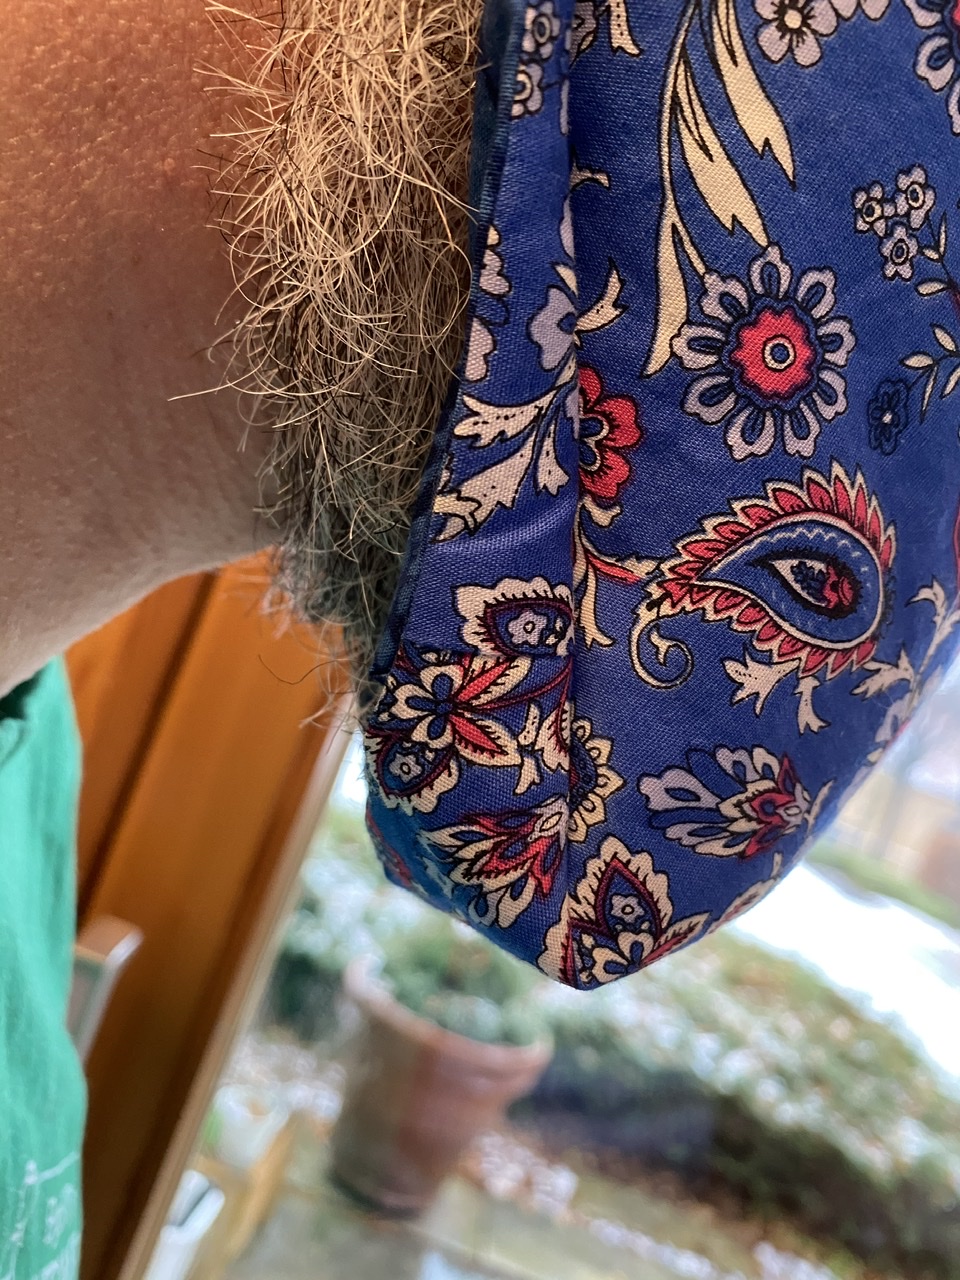
Beard pocket

For the other mask, I decided rather than add darts, I’d try to adjust the existing one for the nose. (The Snook doesn’t like the fabric to sit too close to his mouth.) So I kept the point in the same place but sliced the dart a bit wider…

Adjusted pattern

In that photo you can see where I cut across the top dart, and where I folded it across the middle. Once this one was put together, I brought it down for another fitting…

Mask v3

Hey, that’s pretty good! With a wire in, it fits fairly well around the nose without the extra fabric we pinched out in v2. The dart also makes it stick out quite a bit from his mouth in a sort of beak-like shape, which he likes. Again, verdict is Acceptable.

Beak

If you want to make the same pattern, there are a couple caveats I’ll mention. In Step 4, I didn’t quite understand the instructions for attaching the nose tunnel. The descriptions just mention pinning it on, but in the subsequent photo for Step 5, you can clearly see it’s been attached. So I pinned it on and then sewed across the bottom edge. The top edge gets attached when you sew the whole thing together.

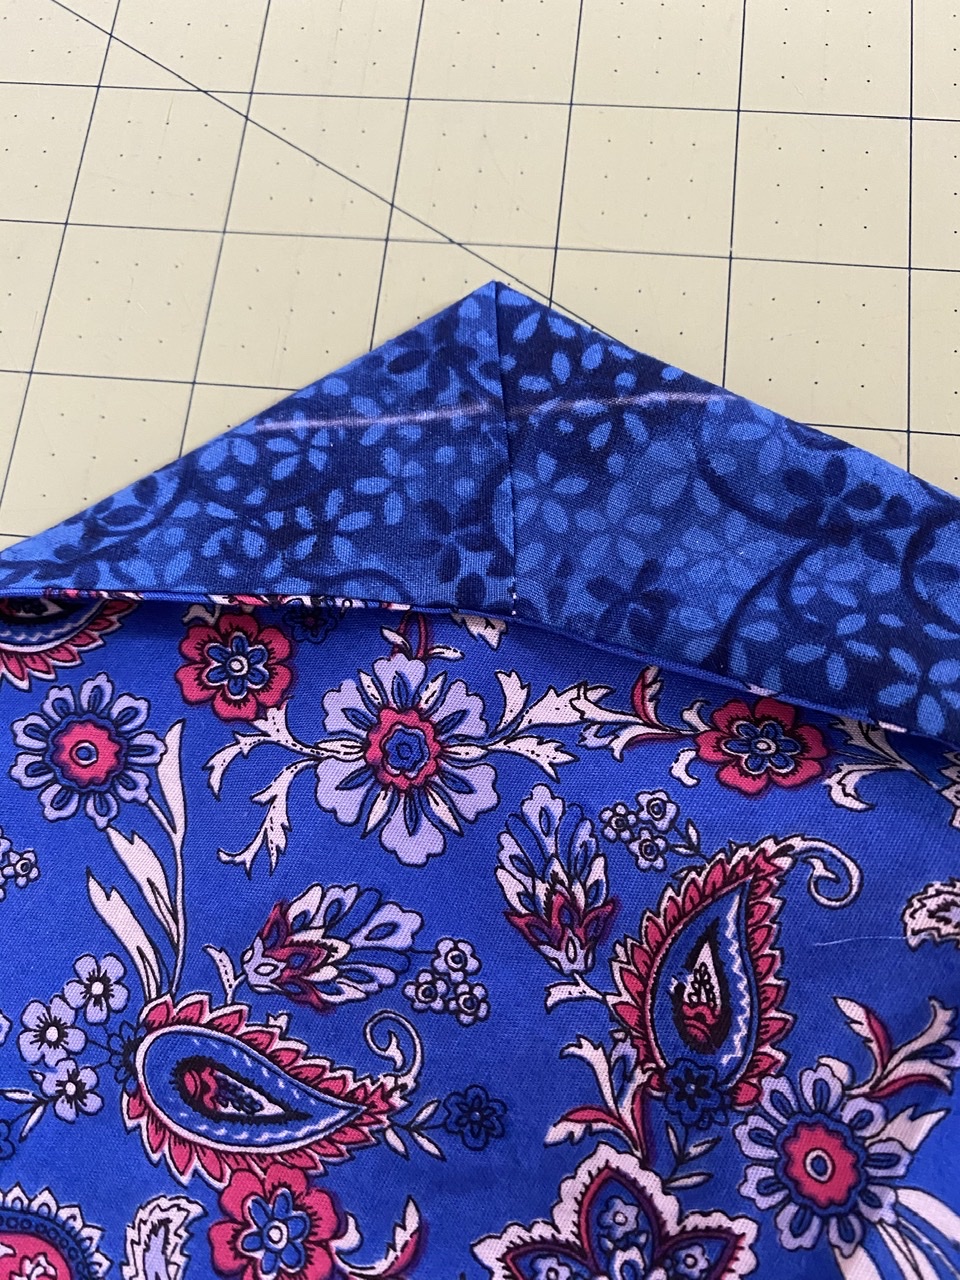
I was also slightly confused by the description for Step 9, but once you do it, it makes sense. The trick is to turn the mask inside-out, flatten the darts to either side of the chin, and then sew across. The softens that curve along the chin. You can see my version here, with my sewing line indicated in white.

Sewing across the darts

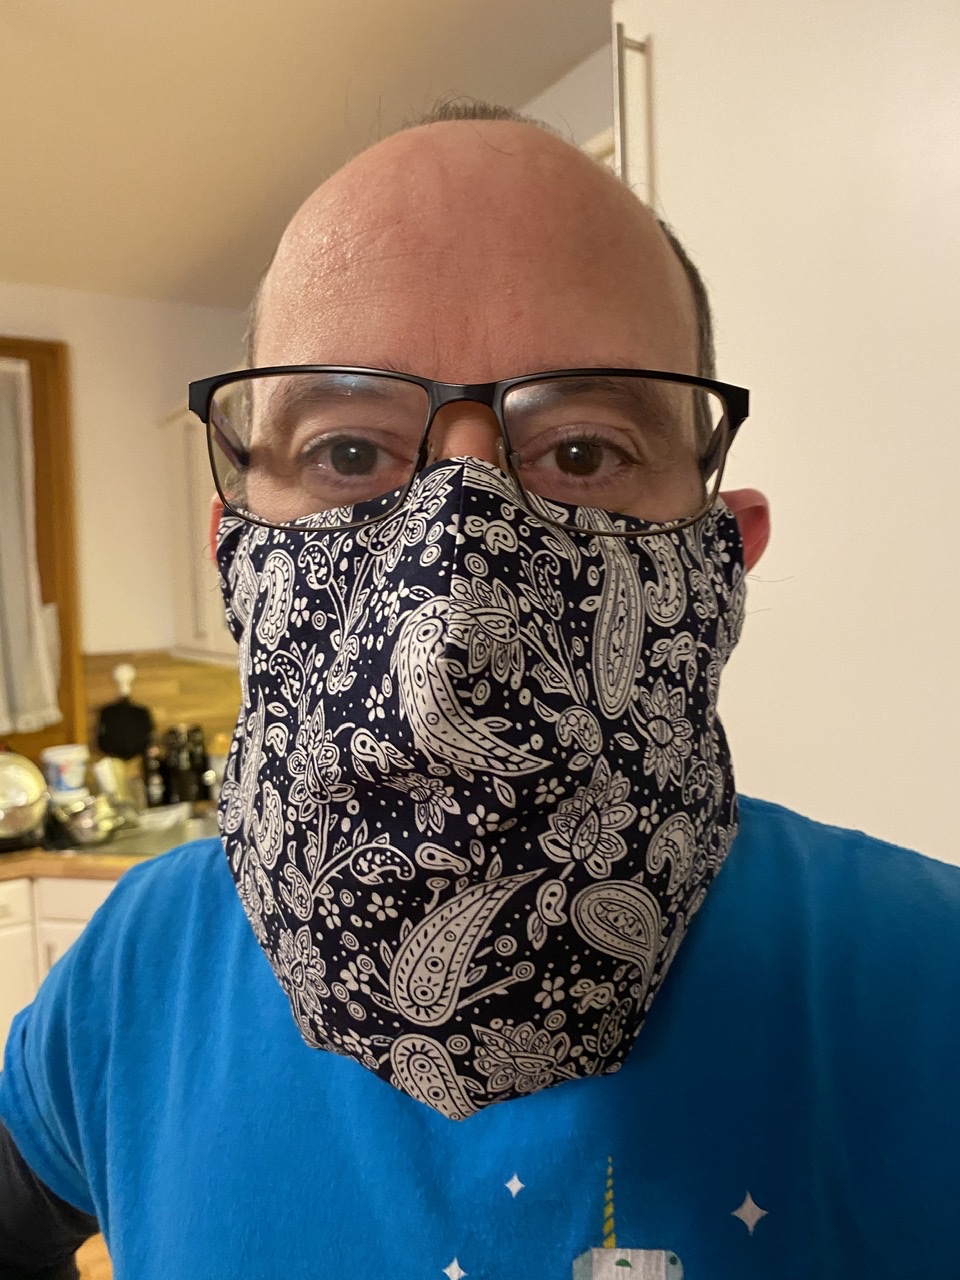
Two more masks that won’t give him Mask Face! That should see him through the holidays… 😷

Pattern Round-up: Free Face Masks

Now that the CDC is officially recommending cloth face coverings to help control the spread of novel coronavirus, a bounty of free sewing patterns has cropped up for them online. I decided to try out a few of the free ones to compare ease-of-sewing, fit, and comfort. (There are also plenty of no-sew options too, but just remember that knitted fabrics like t-shirts have huge holes and are less effective than a tightly woven fabric like quilting cotton.)

Test subjects

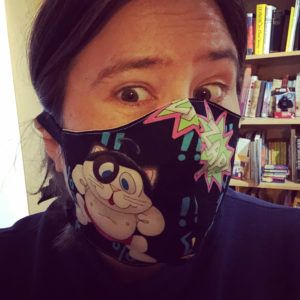
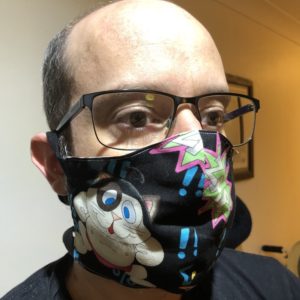
For these experiments, I’m testing fit and comfort on both myself and the Snook. Our head circumference is the same: 58.5cm / 23in. However, our head shape is very different as you can see from the profiles below. My maternal grandmother is Korean, and my face is wider and flatter with a relatively small nose. The Snook is of Italian and Welsh heritage, and he has — as he puts it — “a man nose.” He also wears spectacles, whereas I mostly wear contact lenses in public. I’ve got lots of hair; he doesn’t… but he does have a beard.

Fu Face Mask from Freesewing

Freesewing is a super cool website where you can upload your measurements and generate completely custom-fit PDF patterns from it. I’ve used it in the past to make two shirts for the Snook. The creator Joost added the Fu Face Mask on March 1 and I bookmarked it right away. The only measurement it uses is your head circumference, and there’s only a single pattern piece to cut.
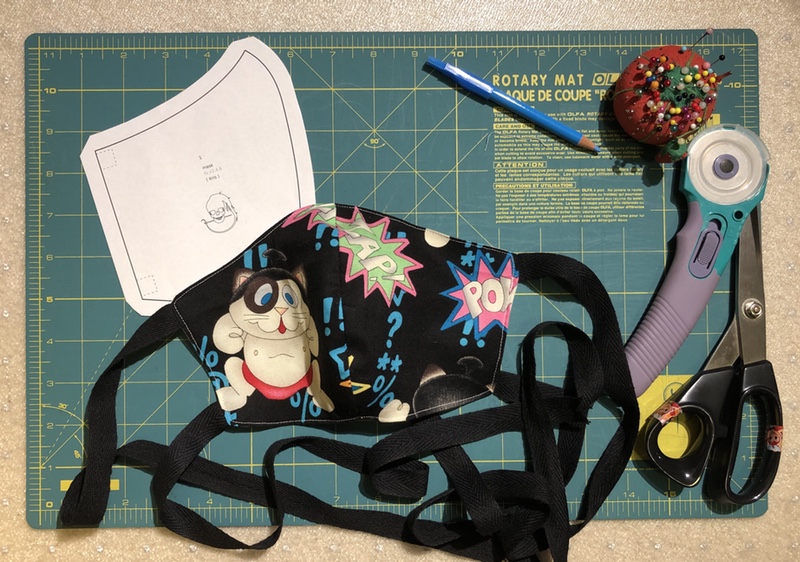
This was very, very quick to make up. I used two pieces of quilting cotton — the black novelty fabric on the outside, and a plain white for the lining. The straps are made up of some cotton webbing I had in my stash. I liked the neat method of attaching the straps so you don’t have any raw edges exposed, and the topstitching makes it nice. This has no inner filter (just the two layers of cotton), so it’s fairly light and easy to breathe through.

In terms of fit, the face part of this one fits me great. It does, however, make me feel like Shredder from the Ninja Turtles. I’m not a huge fan of ribbon ties though, as they tend to slip down my big round head and mess up my hair. (You can see that it’s already falling down and smooshing the top of my ear.) However, this one didn’t fit the Snook at all, and he said he felt like he needed more room for his nose. It just didn’t fit tightly around his face.

Olson Face Mask from Maker Health

I spotted this mask on Kelly Ferguson’s Instagram and she kindly pointed me to the pattern, which is from Maker Health. It comes in both adult and kids’ sizes, and what’s really cool is that it has a sort of pocket where you can insert a filter.
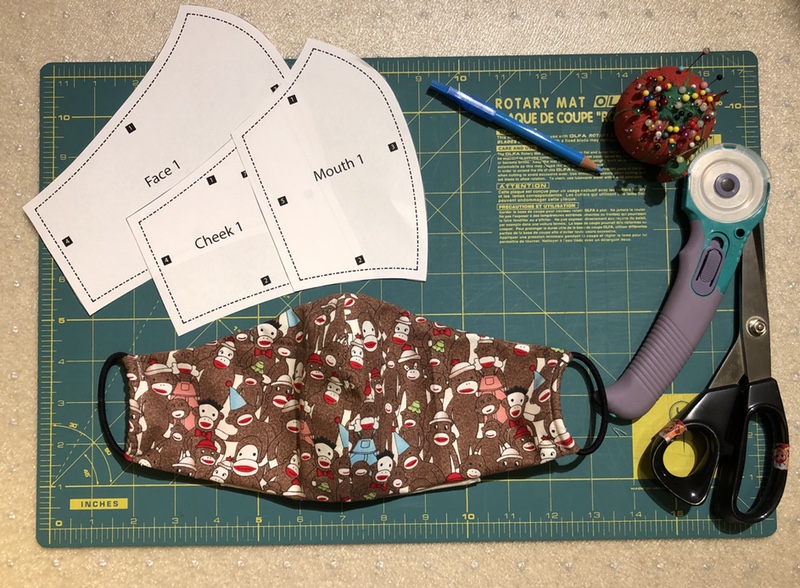
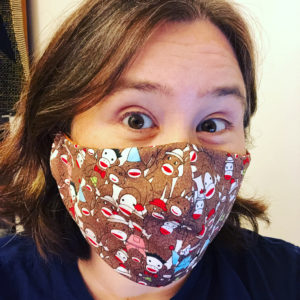
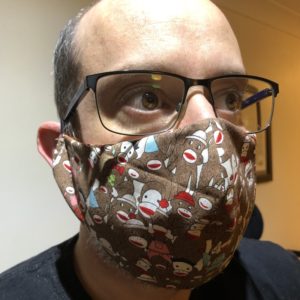
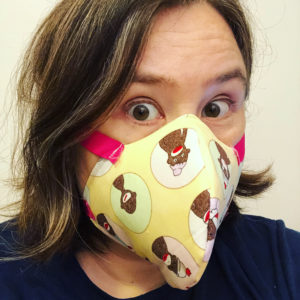
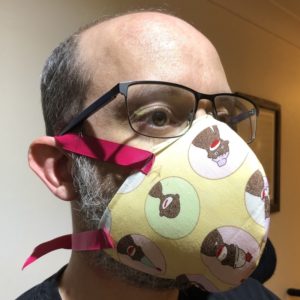
I was surprised when I printed this out to see it involves a full six pattern pieces. However, upon inspection I realised they’d just mirrored them for the two sides, so you can get away with printing just a single piece for the face, cheek, and mouth. (Basically – two pages instead of four. Either fold your fabric before cutting or flip the piece over before you cut the second one. Save some trees!) I used three different quilting cottons for this one: the sock monkey print for the outside, and two solid colours for the inside. This one took the longest to put together, just because you have to hem the overlapping pieces for the inside pocket. That said, it’s still pretty easy. Instead of ribbons, this one uses hair elastics that you secure over your ears.

The Olson Mask fit on my face is very similar to the Fu Mask, and I find it very comfortable to wear. I wasn’t sure about the hair elastics, but they’re awesome. They hold it just right and it doesn’t screw up my hair! However, the Snook had much the same fit problems with this one as he did with the previous. It just isn’t fitting flush to his face around his nose at all. Additionally, the elastics I used are too small for his ears (?!) so he didn’t enjoy wearing it.

Ragmask from Jean Whitehead, Matt Gardner, and Loren Brichter

I saw Ragmask linked somewhere recently and loved the lo-fi concept. This isn’t fancy; it’s about churning out masks as quickly as you can. There’s only one size and one pattern piece.
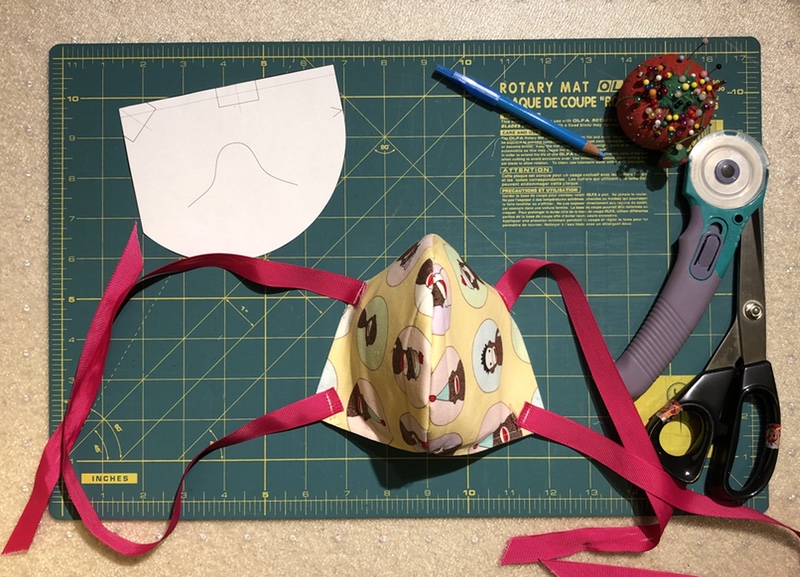
True to the website, Ragmask is optimised for speed of construction. The aim isn’t perfection but rather “good enough.” I used a single piece of quilting cotton (which gets folded over double) along with a piece of fairly stiff interfacing as the “filter.” The seam down the middle is left raw on the inside, as is the bottom edge along your chin. I used some salvaged ribbon for the ties. The really ingenious bit of this design is that you create a channel that you feed a bit of wire into, and you then form that around your nose. (I used a bit of plastic coated clothes hanger.) That creates a much tighter seal around the nose. It will, however, create trouble when you go to wash it, as you’ll have to remove the wire or it’ll rust. (Their Twitter mentions working on a version to make this easier.)

Because I put the interfacing in this one, it made it fairly stiff and “beak-like.” That’s nice when you’re wearing it, as it stands away from your mouth a bit. The fit on this one is okay for me, but I just don’t enjoy the ribbons/ties around the head. The perfectionist in me is also slightly offended by raw edges, even though I get why it is. That said, this one was the Snook’s favourite! It actually fit nicely around his nose (under his specs) and all the way under his chin.

Final verdict

Look, this is all down to the size, shape, and weirdness of your own head and what you feel comfortable in. All of these are easy to make and do the job. Because I like the elastic over the ears better than ties, I’m going to be making more of the Olson Masks for me. (I’ve also just had an idea that should allow me to  add an easily removable nose wire to the Olson to make it fit even better!) And because of his “man nose,” I’ll be making more of the Ragmasks for the Snook. Whatever you do, please stay home as much as you can and stay safe. ❤️
Making Bella’s Hug Book

Back in January, I was checking out my Mom’s shop – The Quilt Shop at the Essenhaus in Middlebury, Indiana – when I saw she had some quilted fabric books made up for children. Each one was made from a single fabric panel that had all the directions printed right on it. Since I know lots of folks having babies, I bought four of them and brought them home. I’ve since made up two of them, and I recorded the process for Bella’s!

If you’d like to make your own, here’s one of the panels at the Quilt Shop site. (They have others that aren’t online; just get in touch and I’m sure they can help you out.) Beyond that they’re pretty basic, and the only fancy thing I did was use my new sewing machine to embroider Bella’s and my names on the back. A fun and rewarding little project! ❤️

Baratheon Pullover

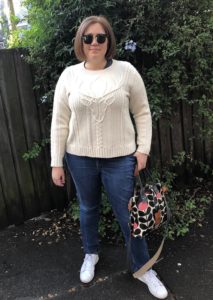
Baratheon PulloverThis jumper’s been a long time in the making. Way back in 2011 I was a contributor to the TON OF WOOL project and received a couple skeins of 10ply undyed Cormo wool in return. It sat in my stash for years. Then in late 2017 I happened to see Norah Gaughan’s Stag Head Pullover on the front page of Ravelry and fell in love. I didn’t have enough of the Cormo to make it, but Jody still had a full packet and kindly sold it to me. I originally aimed to put it in the 2018 Easter Show but didn’t manage to get it finished in time. It languished in the “incomplete” basket for the better part of a year before I picked it up and finished it just in time for this year’s Show.

No ribbon, sadly, and no feedback from the judges either. Still, I’m very happy with it. Full details over on Ravelry

Making an Aloha Shirt

As you’ve no doubt gathered, I recently finished a new shirt for the Snook. I decided that I’d document the whole process in a video.

It’s not often I get to put my Film degree to use! I had a lot of fun playing with iMovie and editing this thing together. I hope you enjoy it as much as the Snook likes his new shirt!

Montrose Top

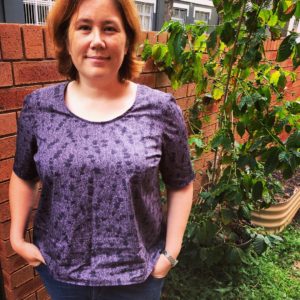
I think this is my fastest sewing project yet! This is the Montrose Top from Cashmerette, and I whipped this up in about 4 hours today.
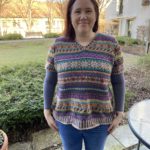
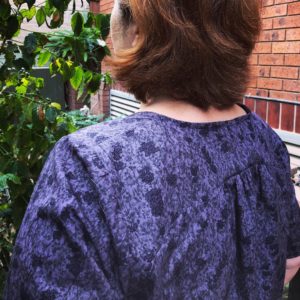
The fabric is Liberty Saville Poplin in a lavender print that I bought at The Fabric Store during their last sale. (Savvy blog readers will notice that I used it for the Snook’s most recent Simon Shirt. I deliberately bought enough so I’d be able to make something simple for myself too!) The only real design feature on the garment is a curved and gathered back yoke, which was pretty simple to do.

In terms of sizing, the pattern offers 9 different sizes, 3 different cups, and 2 different sleeves, so it’s suitable for pretty much everybody! I cut a straight 20 C/D, and it’s comfortably roomy. (I might go down to an 18 next time.) This is definitely the best sleeve fit I’ve ever had on a garment I’ve made for me. I made one alteration to lengthen the front and back, just based on the fact that the pattern was written for someone who’s 5’6″. I’m closer to 5’10” but I’m also short-waisted, so I decided to add in 2″. However, when I tried it on it was still too long, so I ended up chopping that length off and rehemming. Next time I’ll go back to the original length.
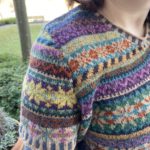
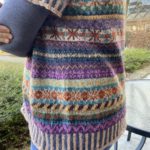
I can see myself making these in lots of different colours. Just a great little wardrobe staple! I reckon I like it even better than the Colette Sorbetto…